
Table of Contents
Introduction
I am one of those people who need to have everything in its place to be able to do something. This applies, of course, when I work with a local or remote repository. I need to have all the dependencies installed and configured; moreover, the environment must be prepared with all the tools and with signaling showing the current status of the environment.
By signaling, I mean the console “prompt,” which should be as friendly and aesthetic as possible. For example:
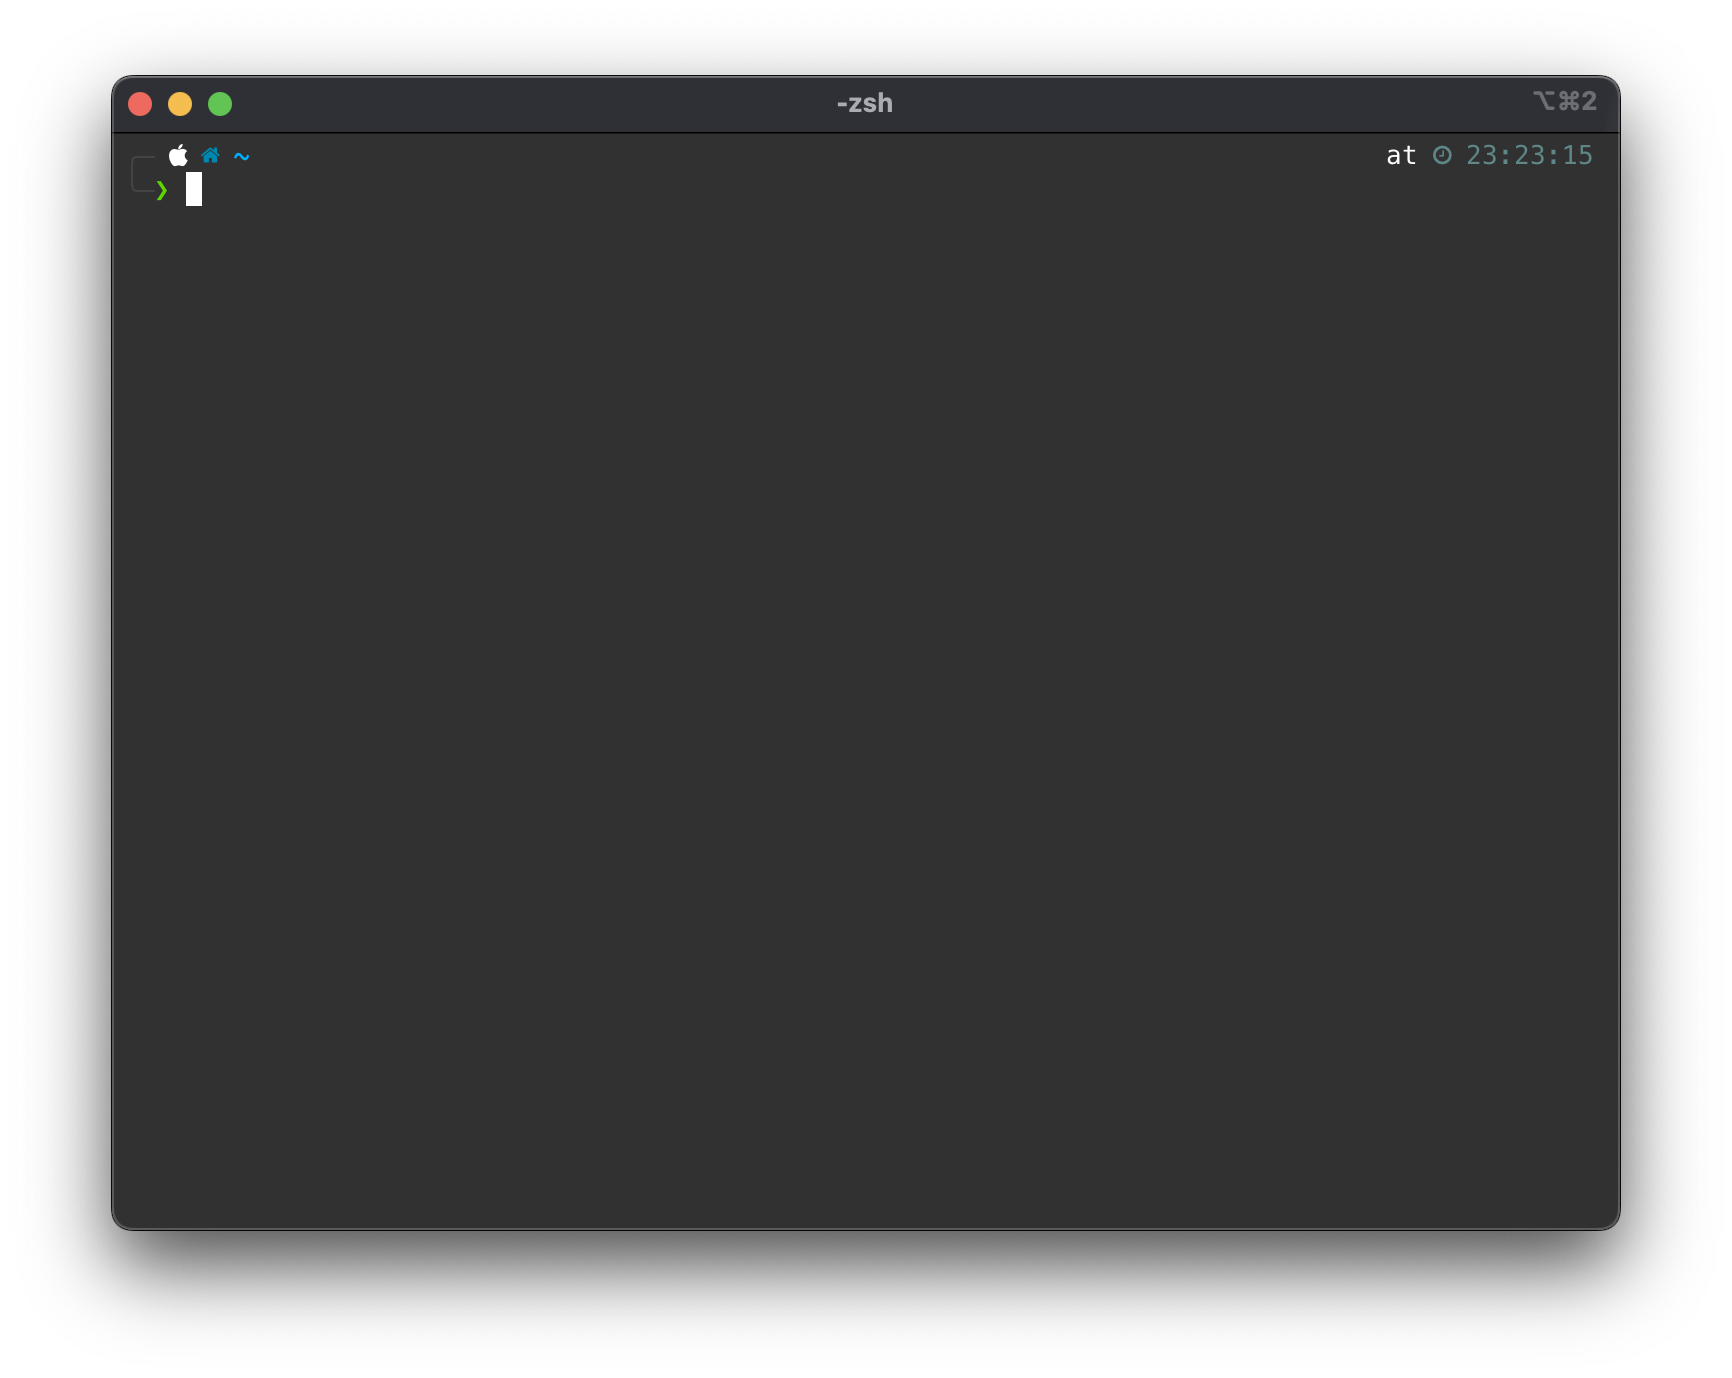
The terminal is iTerm, running zsh by default, with the Presto extension, which allows me to configure plugins that enhance command searches in history, improve interaction with Git, and much more. Anyone interested can check its features by following the link.
In a development directory, the visual aspect should display the current path, the branch I’m on, and if I’m within a special environment like a virtualenv, etc. For example, the directory where I develop this blog:
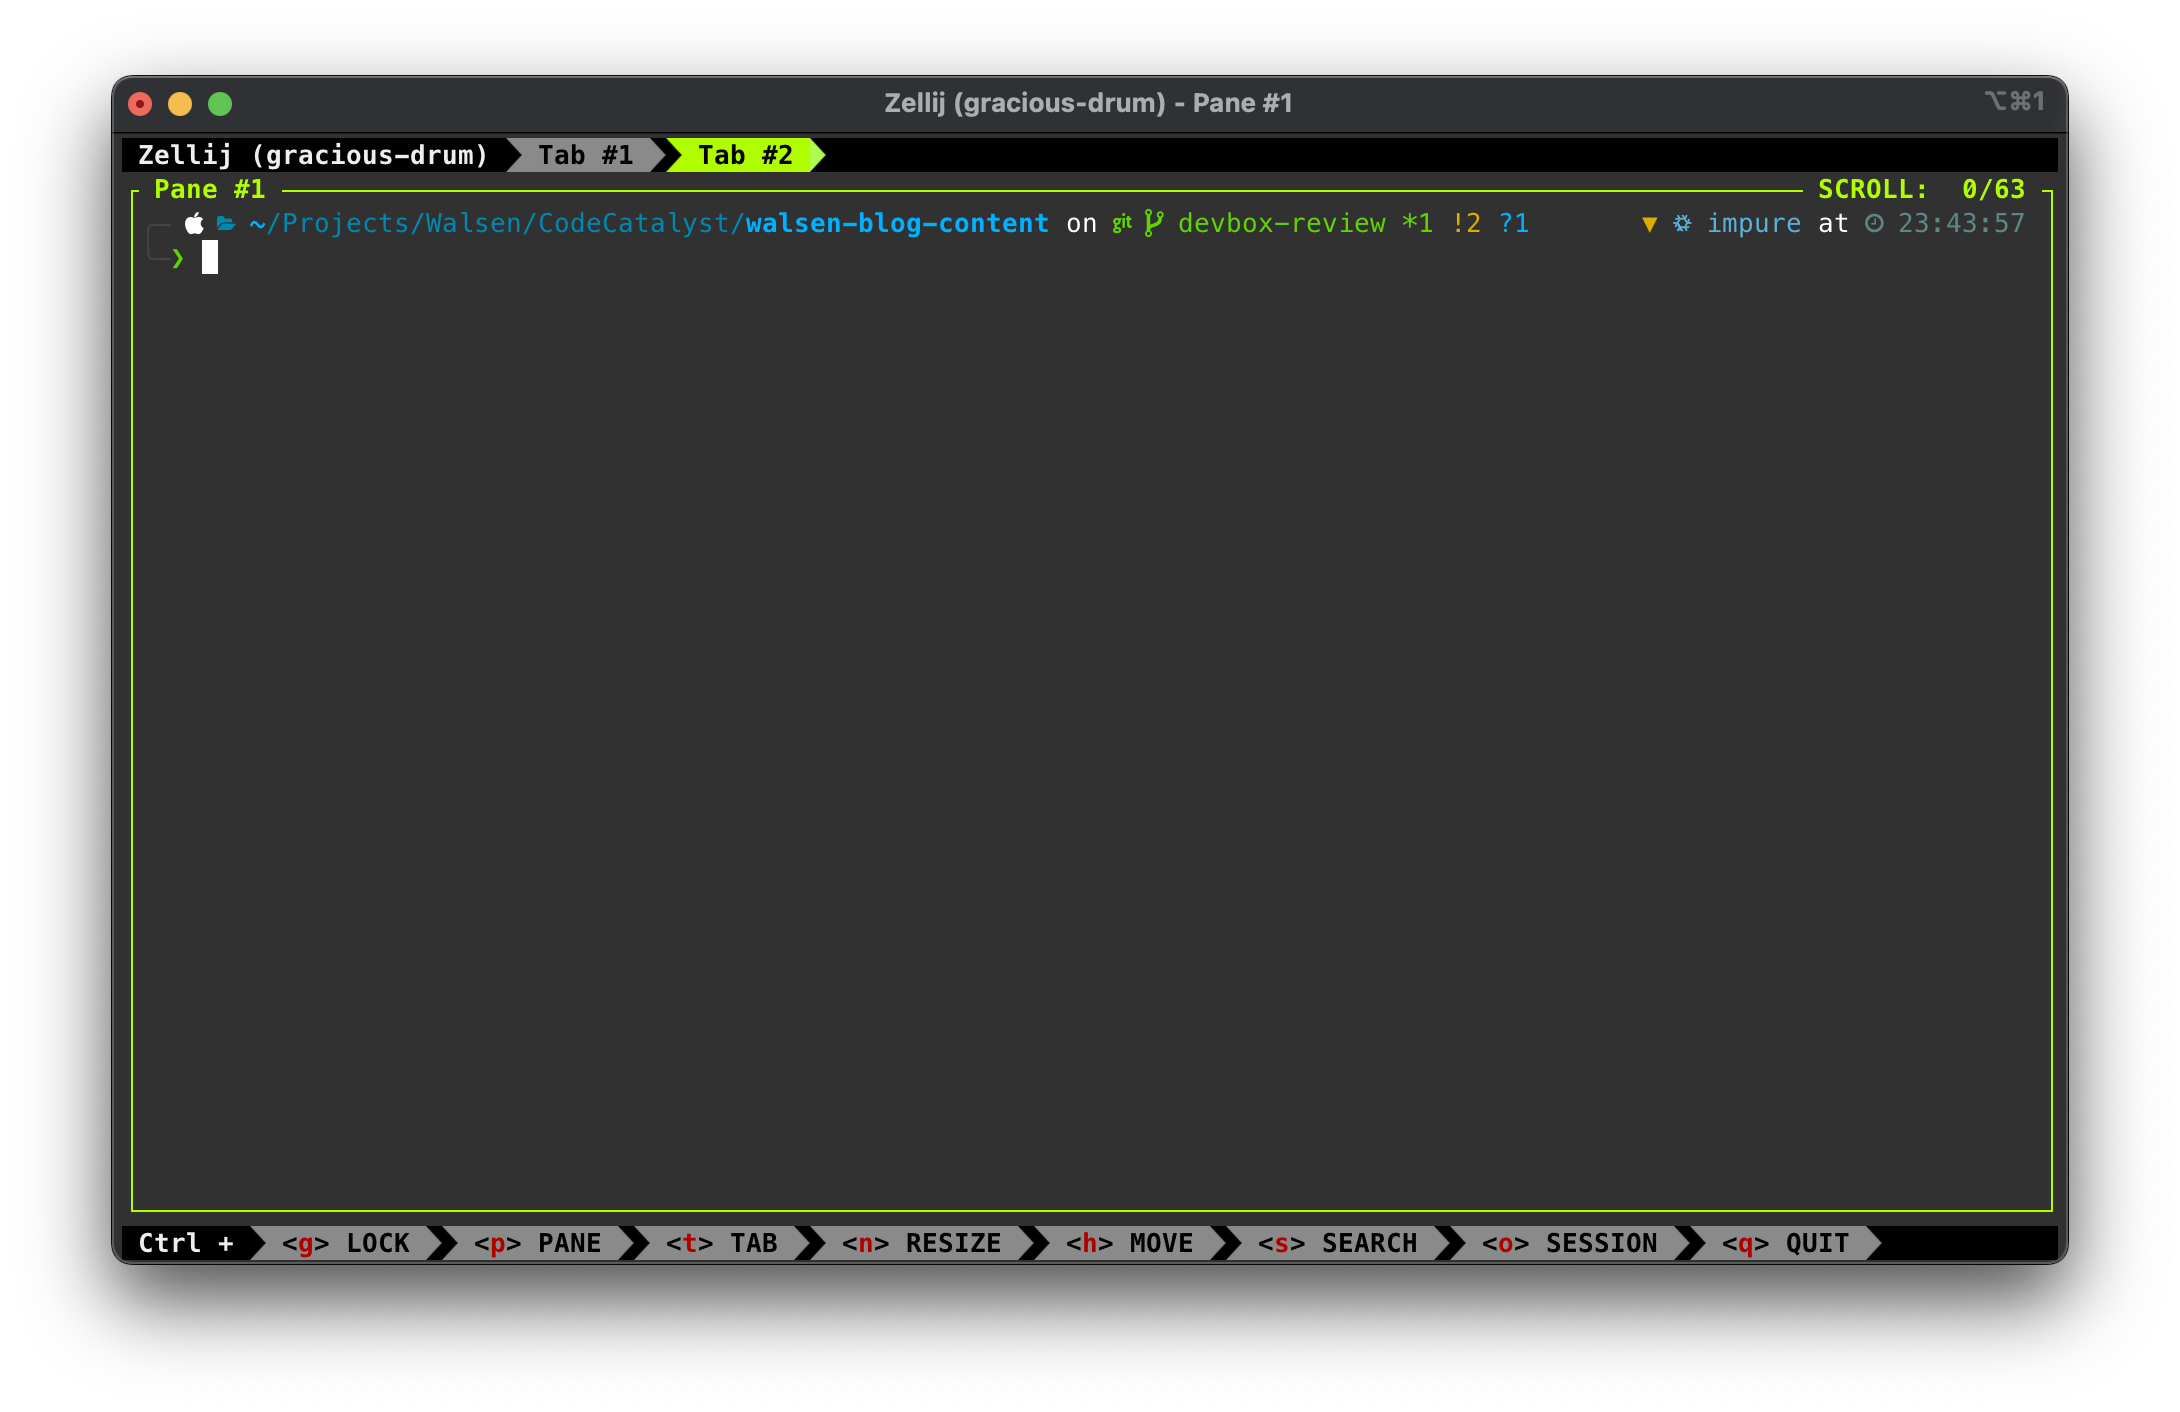
The knowledgeable reader will notice that I am using a Nix environment and a terminal multiplexer (Zellij).
Nix
Nix is an ecosystem of several open-source projects supported by its community.
The most relevant ones in my opinion are:
- NixOS: A complete GNU/Linux distribution.
- nix-shell: An Ad Hoc shell that allows installing existing packages from the Nix repositories. These packages are downloaded to a Nix repo located at a local path.
- Nix Language: A shell programming language of its own that allows manipulating Nix environments at will.
The nix-shell can be installed on MacOS, WSL (Windows), and GNU/Linux.
nix-shell works by creating an isolated area in the user’s environment where a local repository manages the Nix packages installed by the user.
The Nix shell is great, but it has a couple of drawbacks. The repository it creates is global for the user; all installed packages are stored in one place. Therefore, cleaning up dependencies can be somewhat complicated. The second problem is that to manage it efficiently, one has to learn the language it uses, which is quite complex. Not everyone will want to invest time in learning a language just to create their development environments.
There are several alternatives based on Nix, but the one I find best, at least for the usage I give it, is Devbox.
Devbox
Devbox is similar to Nix in every way (it uses it behind the scenes), except that it generates repositories by project and its definition is much simpler, using a structured JSON file called devbox.json, which can be shared in the repository and makes the environment reproducible and automatable.
We will create a very simple example that can be found in this repository https://github.com/Walsen/devbox-basics
We must assume that we are on a Unix-compatible system with a shell similar to bash in the terminal.
Step 0: Install Devbox
It’s as simple as running a shell command (Linux & MacOS):
curl -fsSL https://get.jetify.com/devbox | bash
After this, Devbox will be available for use.
Step 1: Create the directory
We create a simple directory with the mkdir command and enter it:
mkdir devbox-basics
cd devbox-basics
Step 2: Generate the ‘devbox.json’ file and review its content
Devbox can automatically generate its configuration file:
devbox init
cat devbox.json
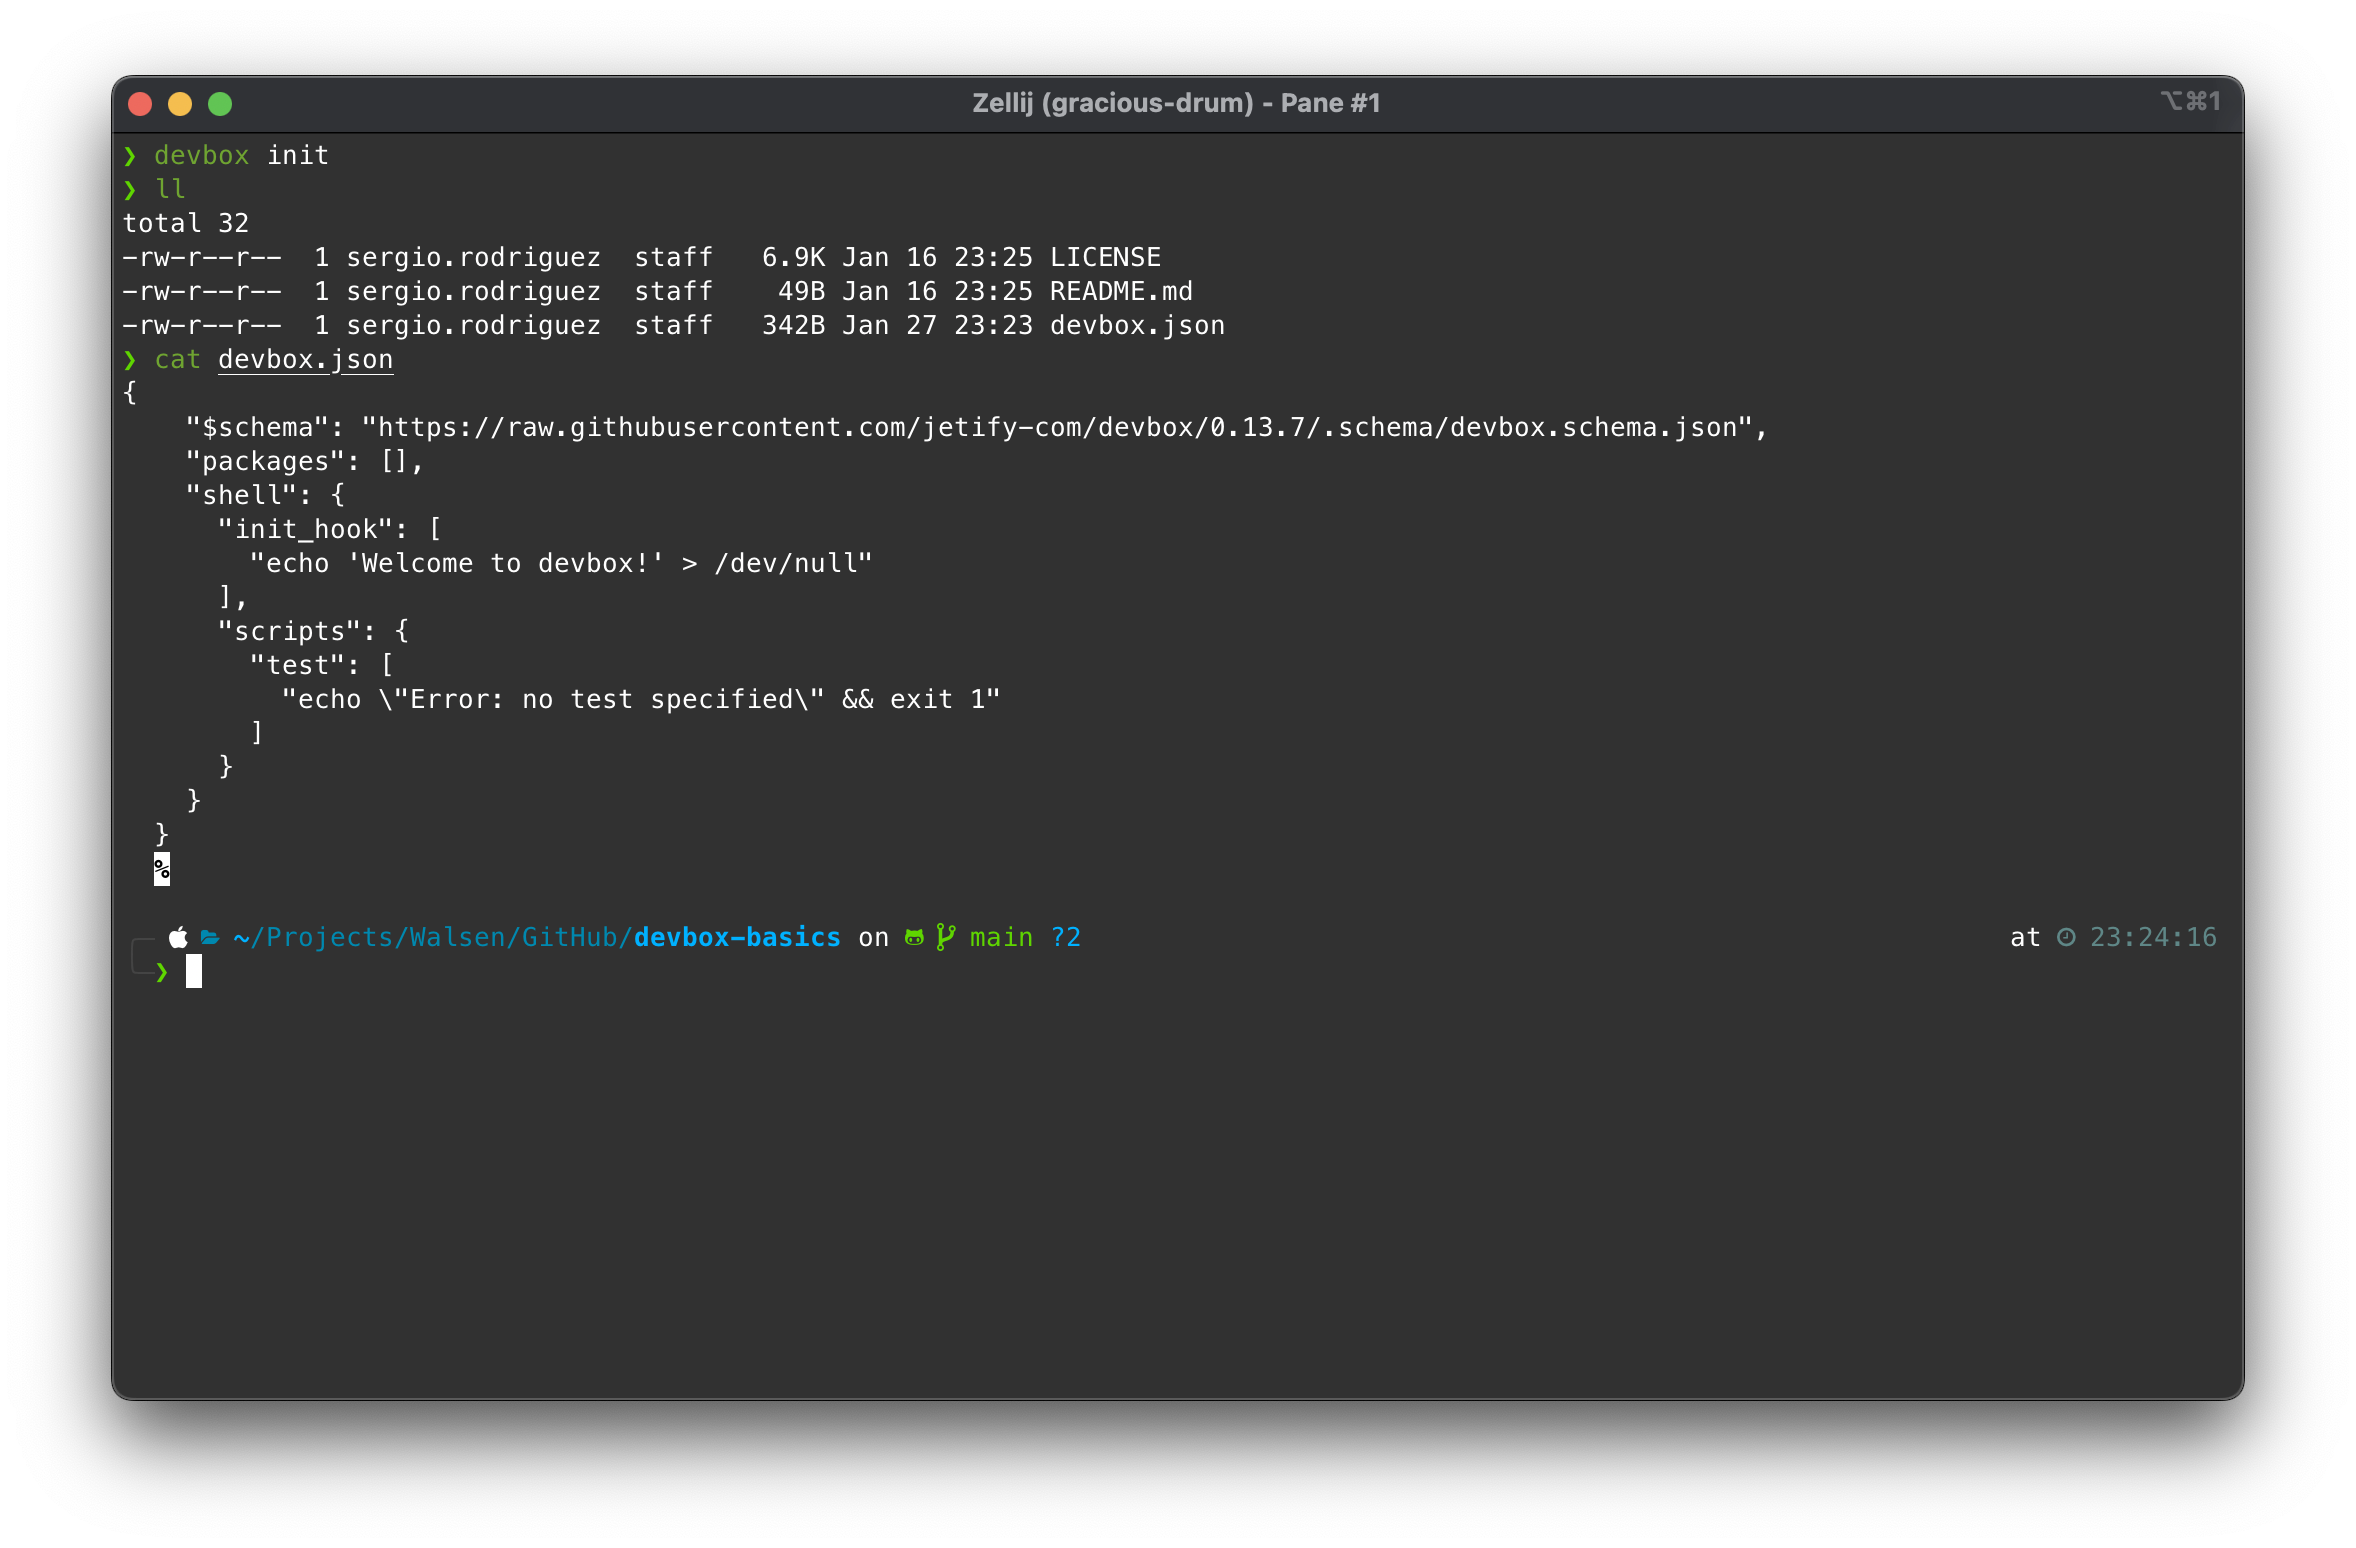
We can identify three main sections:
- $schema: The document definition according to the version specified in the URL.
- packages: An array with the list of packages installed for this repository and their dependencies.
- shell: An object that contains other objects that help us automate the environment, either when starting it or on demand.
- init_hook: An array with a list of commands that will be executed when starting the environment.
- scripts: An object that contains key/value pairs where the value is an array that may contain shell commands that will be executed when the key is invoked using the command
devbox run [key].
There are additional sections: env, env_from, and include. The first two are used to initialize environment variables, either explicitly specified in the devbox.json or read from a .env file. The last one is used to include additional Devbox plugins.
Step 3: Adding Packages / Dependencies
Generally, it’s easy to locate the packages we want to install just by their common name; for example, we will add a list of packages that I commonly use:
devbox add git direnv awscli2 python@3.12 terraform just zellij pipenv
As the reader may notice, it’s possible to specify versions using the at sign after the package name, followed by the version. To see what versions are available or to search for the correct package, this page is available: https://search.nixos.org/packages .
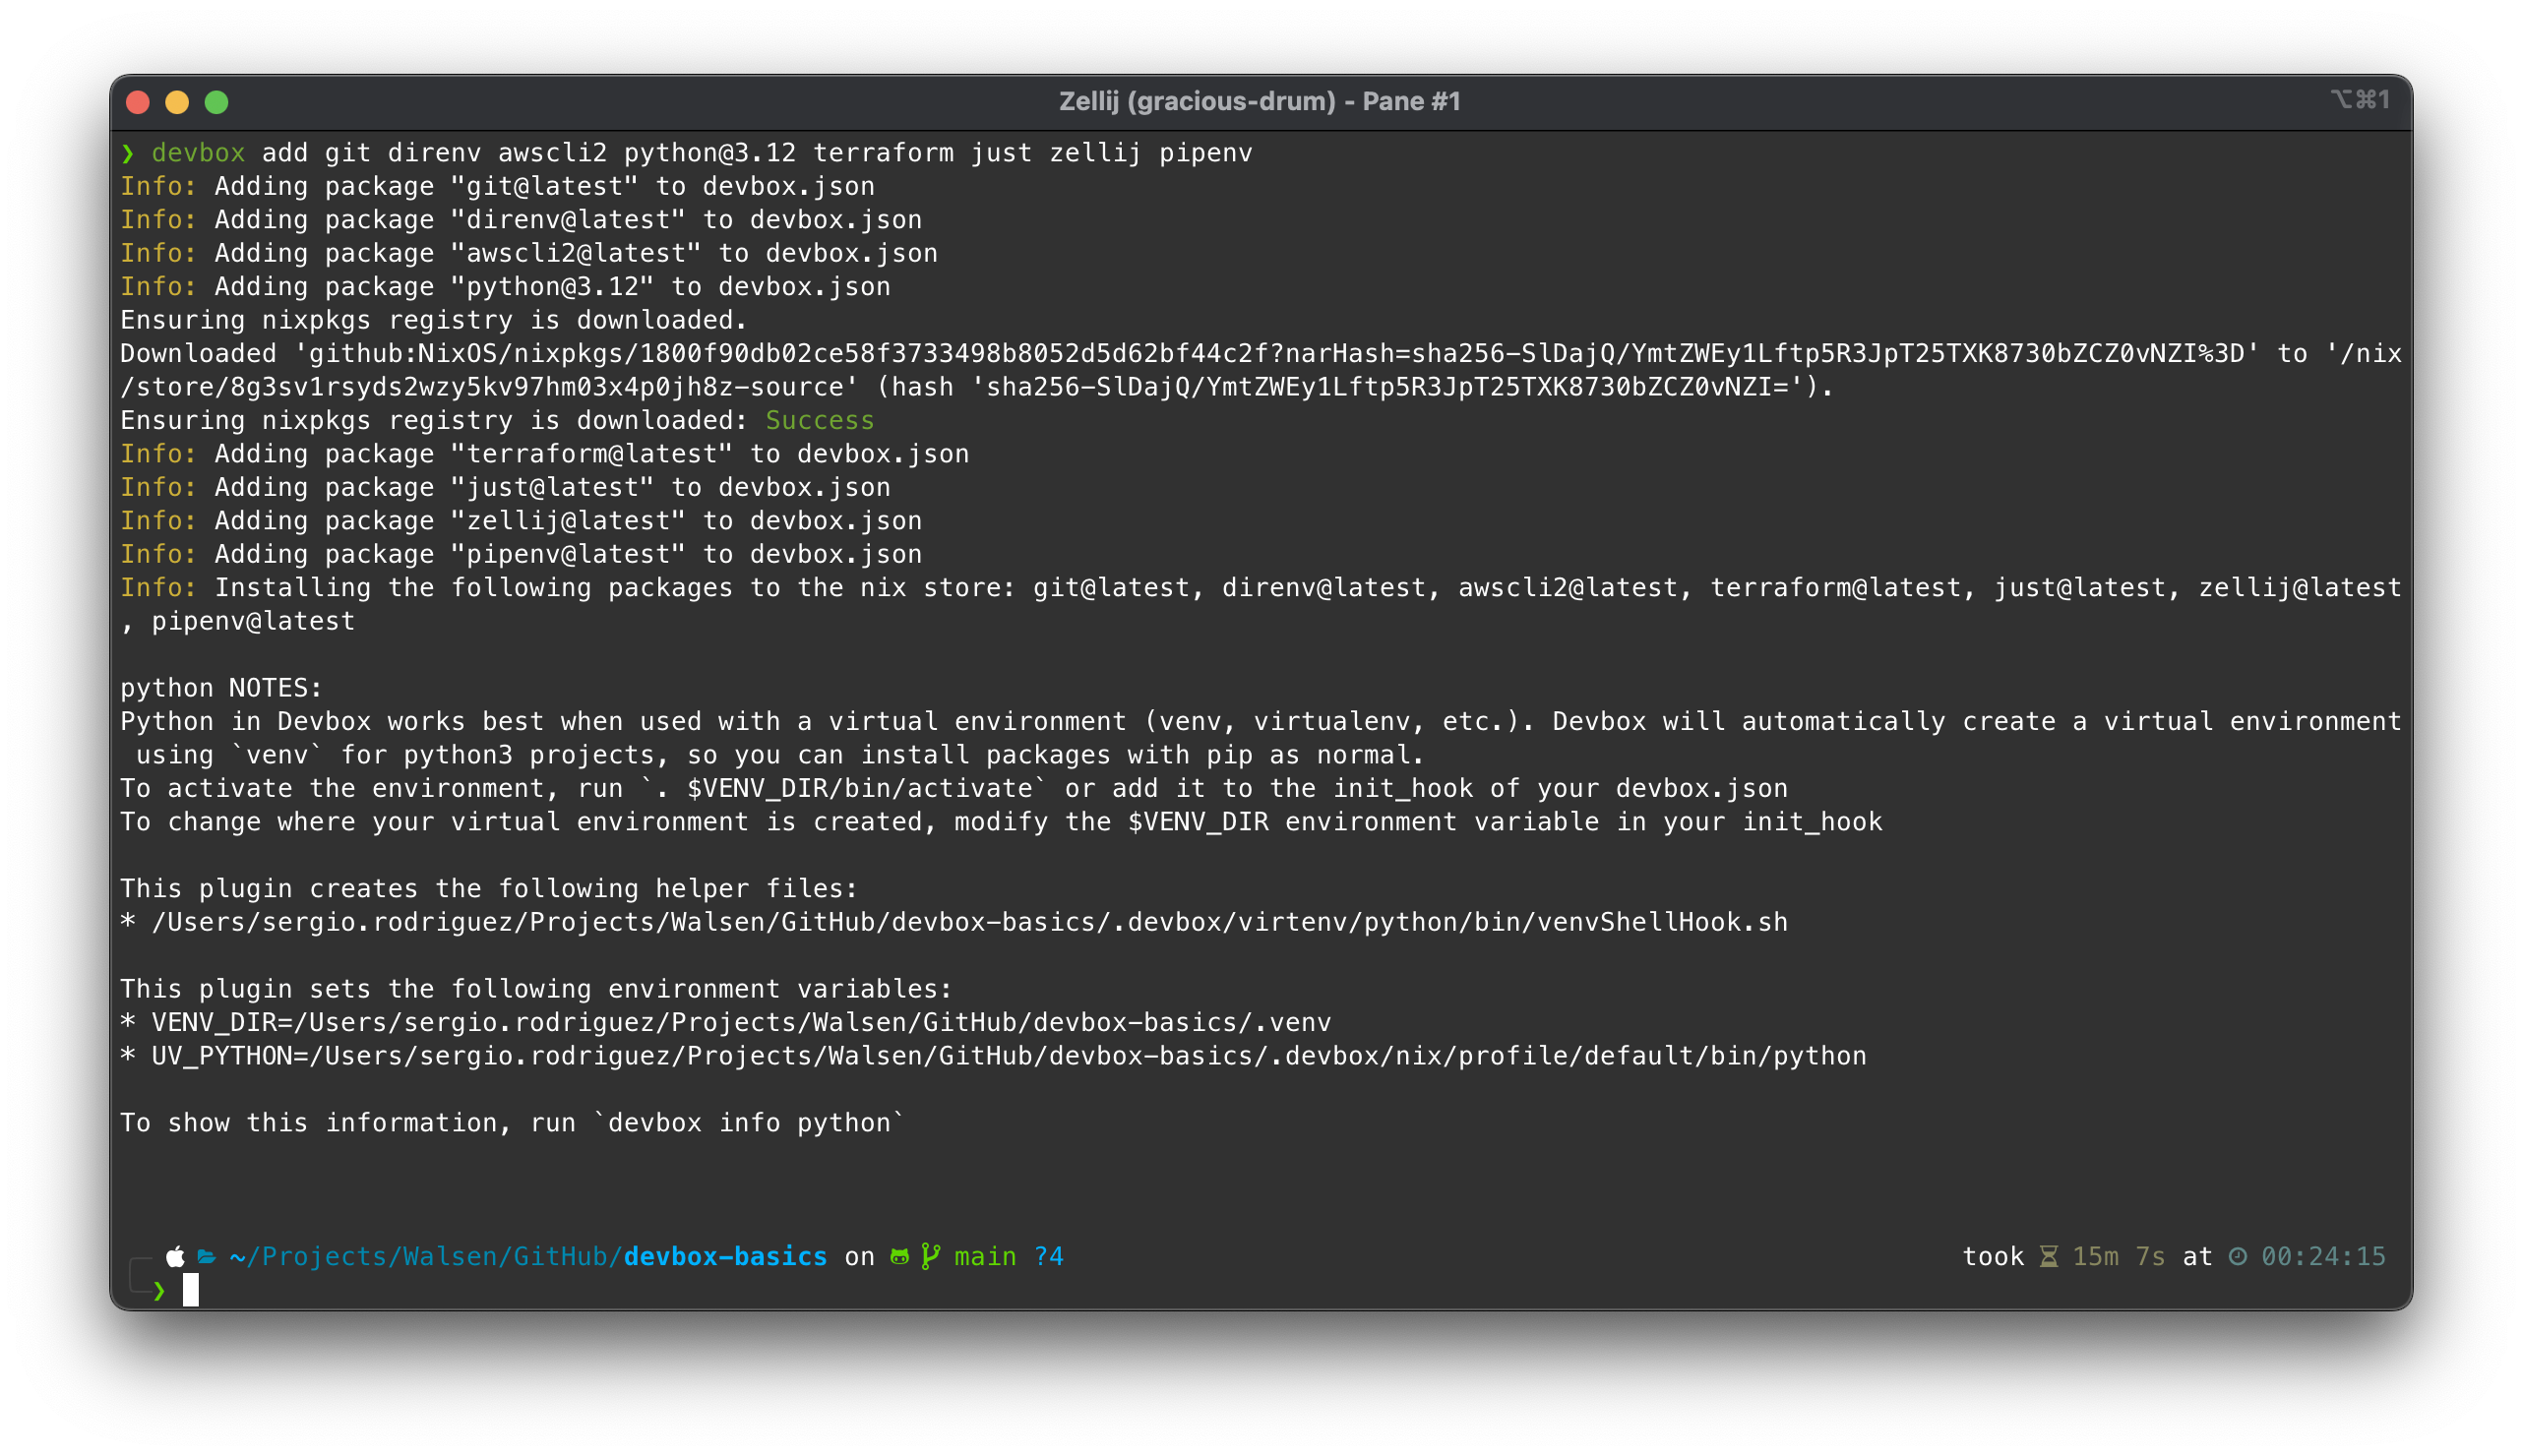
Nix does not provide binaries for some packages, so it must compile the code; that’s what it did with Terraform during the installation.
Finally, Devbox also provides ready-to-use (out-of-the-box) configurations for languages like Python, for which it offers a functional virtual environment. In my case, I chose Pipenv, so it will take a couple more steps to get it ready.
So far, our devbox.json looks like this:
{
  "$schema": "https://raw.githubusercontent.com/jetify-com/devbox/0.13.7/.schema/devbox.schema.json",
  "packages": [
    "git@latest",
    "direnv@latest",
    "awscli2@latest",
    "python@3.12",
    "terraform@latest",
    "just@latest",
    "zellij@latest",
    "pipenv@latest"
  ],
  "shell": {
    "init_hook": [
      "echo 'Welcome to devbox!' > /dev/null"
    ],
    "scripts": {
      "test": [
        "echo \"Error: no test specified\" && exit 1"
      ]
    }
  }
}
Step 4: Start the Shell
To start the Devbox shell, we simply run the following command:
devbox shell
The resulting screen should be similar to this:
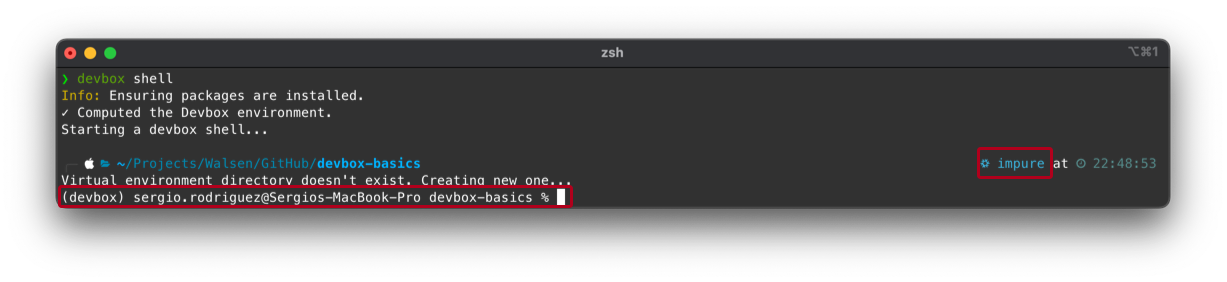
We can notice that the “Prompt” has changed, indicating that we are inside the Devbox shell.
Let’s check the dependencies and test the virtualenv:
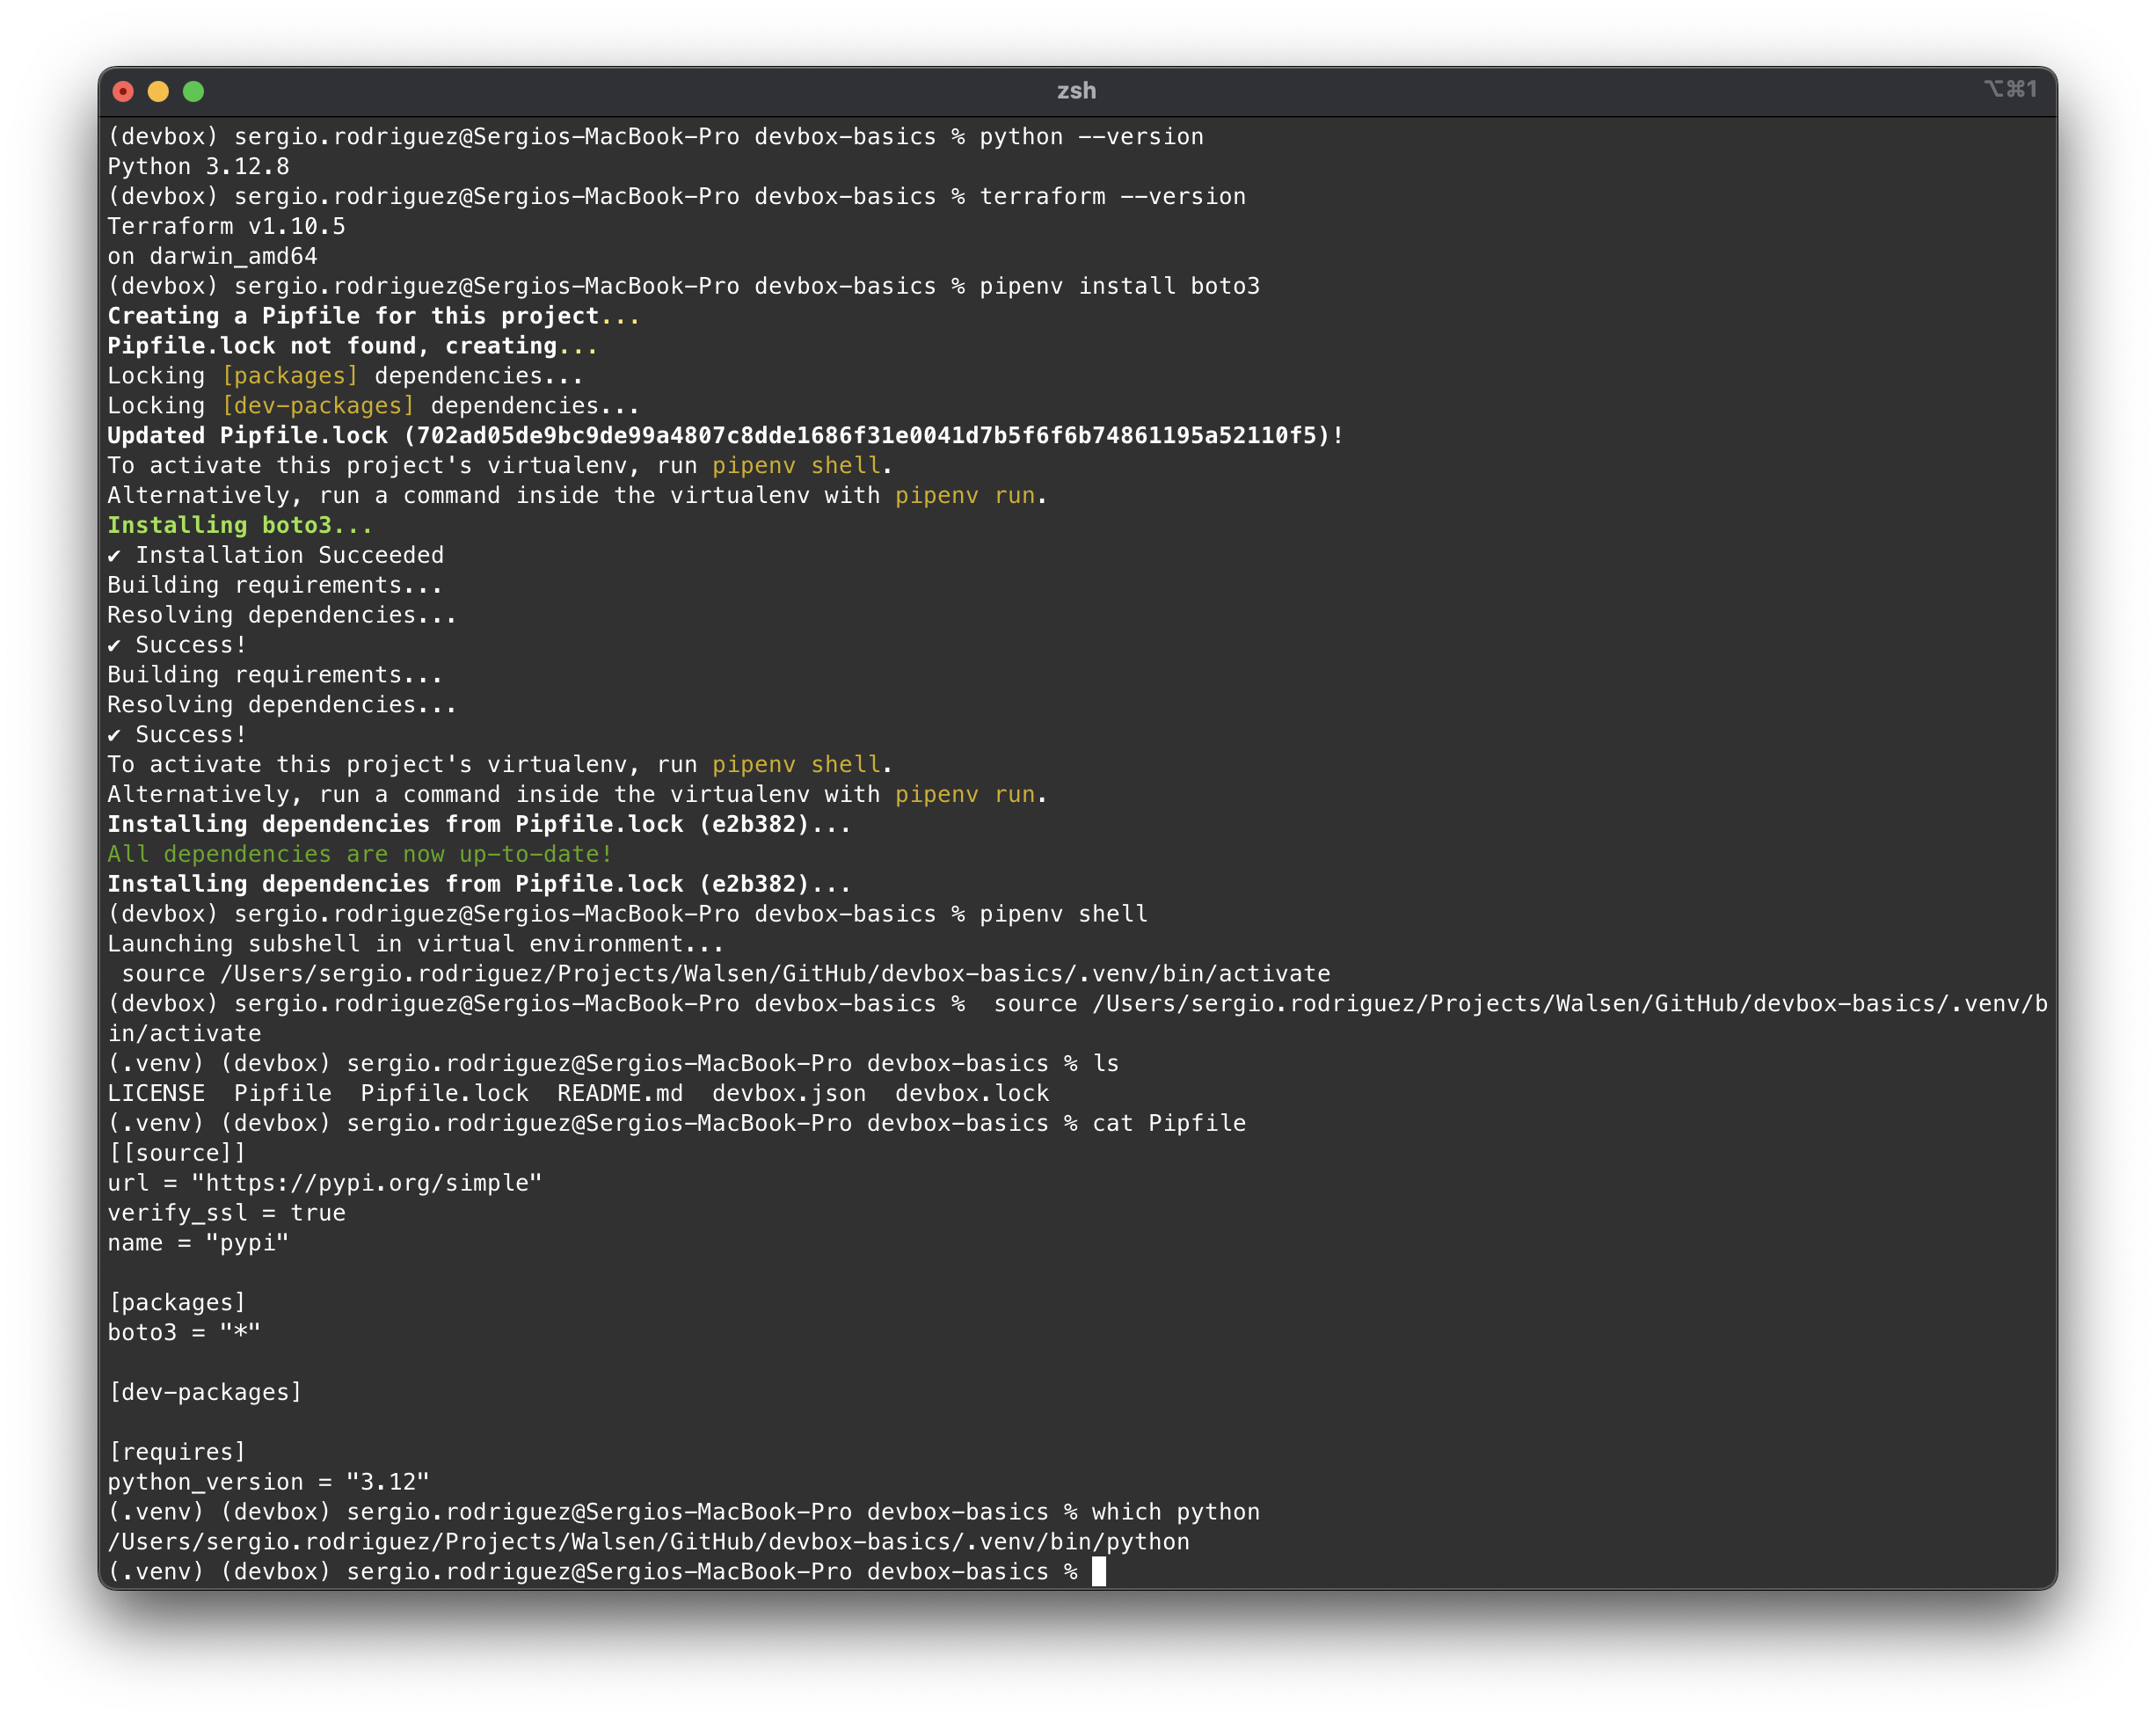
From here, we can develop in Terraform and/or Python without any issues.
Step 5: Configure the Environment Using direnv
direnv is a small utility that automates the use of environment variables; we simply declare the variables in a .envrc file, and direnv will automatically load them when we enter the folder where the .envrc resides.
Devbox comes with support for direnv. To generate a configuration file, we run the following command from outside the shell:
devbox generate direnv
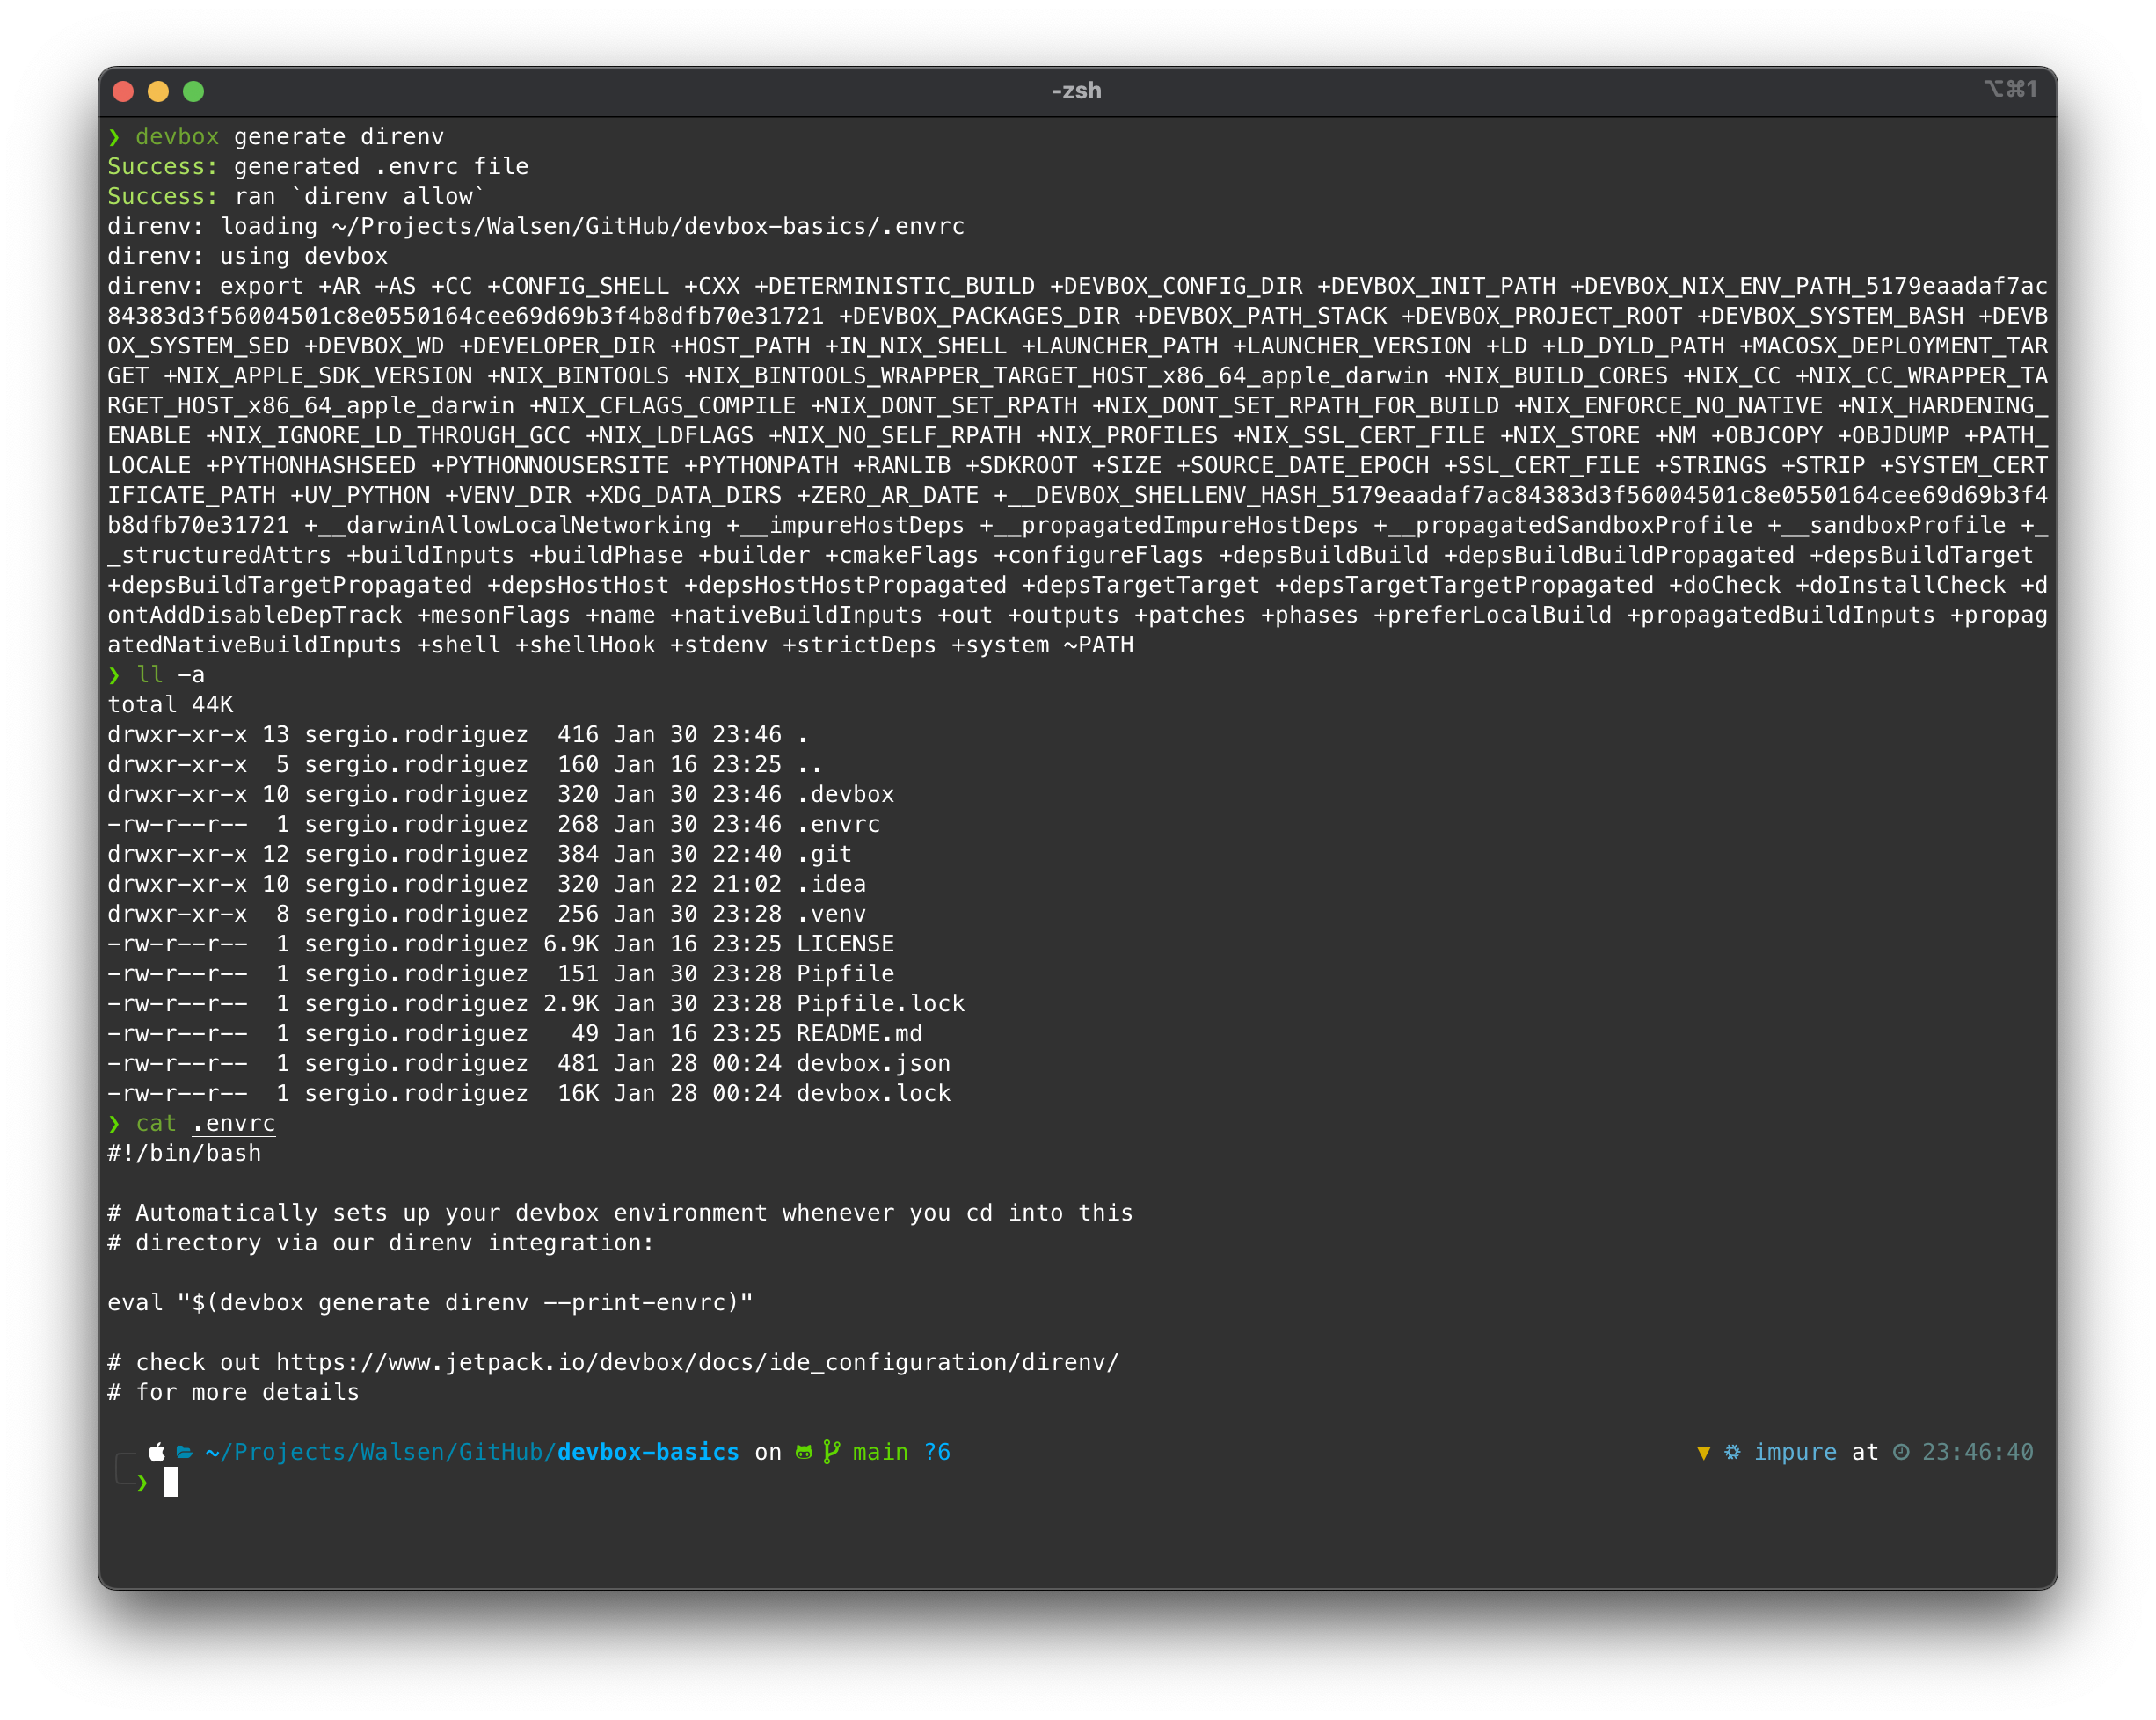
When executing the command, Devbox automatically generates it and runs the shell with the configurations from the .envrc. An interesting detail is that this way, the “prompt” from my console has been imported into the Devbox shell, which is very convenient.
Now that direnv is loaded, we can start exporting variables such as our AWS user’s access keys.
We edit the .envrc file and at the end, we add the variables:
#!/bin/bash

# Automatically sets up your devbox environment whenever you cd into this
# directory via our direnv integration:

eval "$(devbox generate direnv --print-envrc)"

# check out https://www.jetpack.io/devbox/docs/ide_configuration/direnv/
# for more details

export AWS_ACCESS_KEY_ID="ASIA4RRMHHCFXBM0DKRM"
export AWS_SECRET_ACCESS_KEY="4pqlKkaQNBlueLLHkNiWpgDNzihdNfgTYjy3tYk0w"
We run the command at the same directory:
direnv allow
Every time a change is made to the .envrc, it’s necessary to authorize the change, which will “reload” the environment:
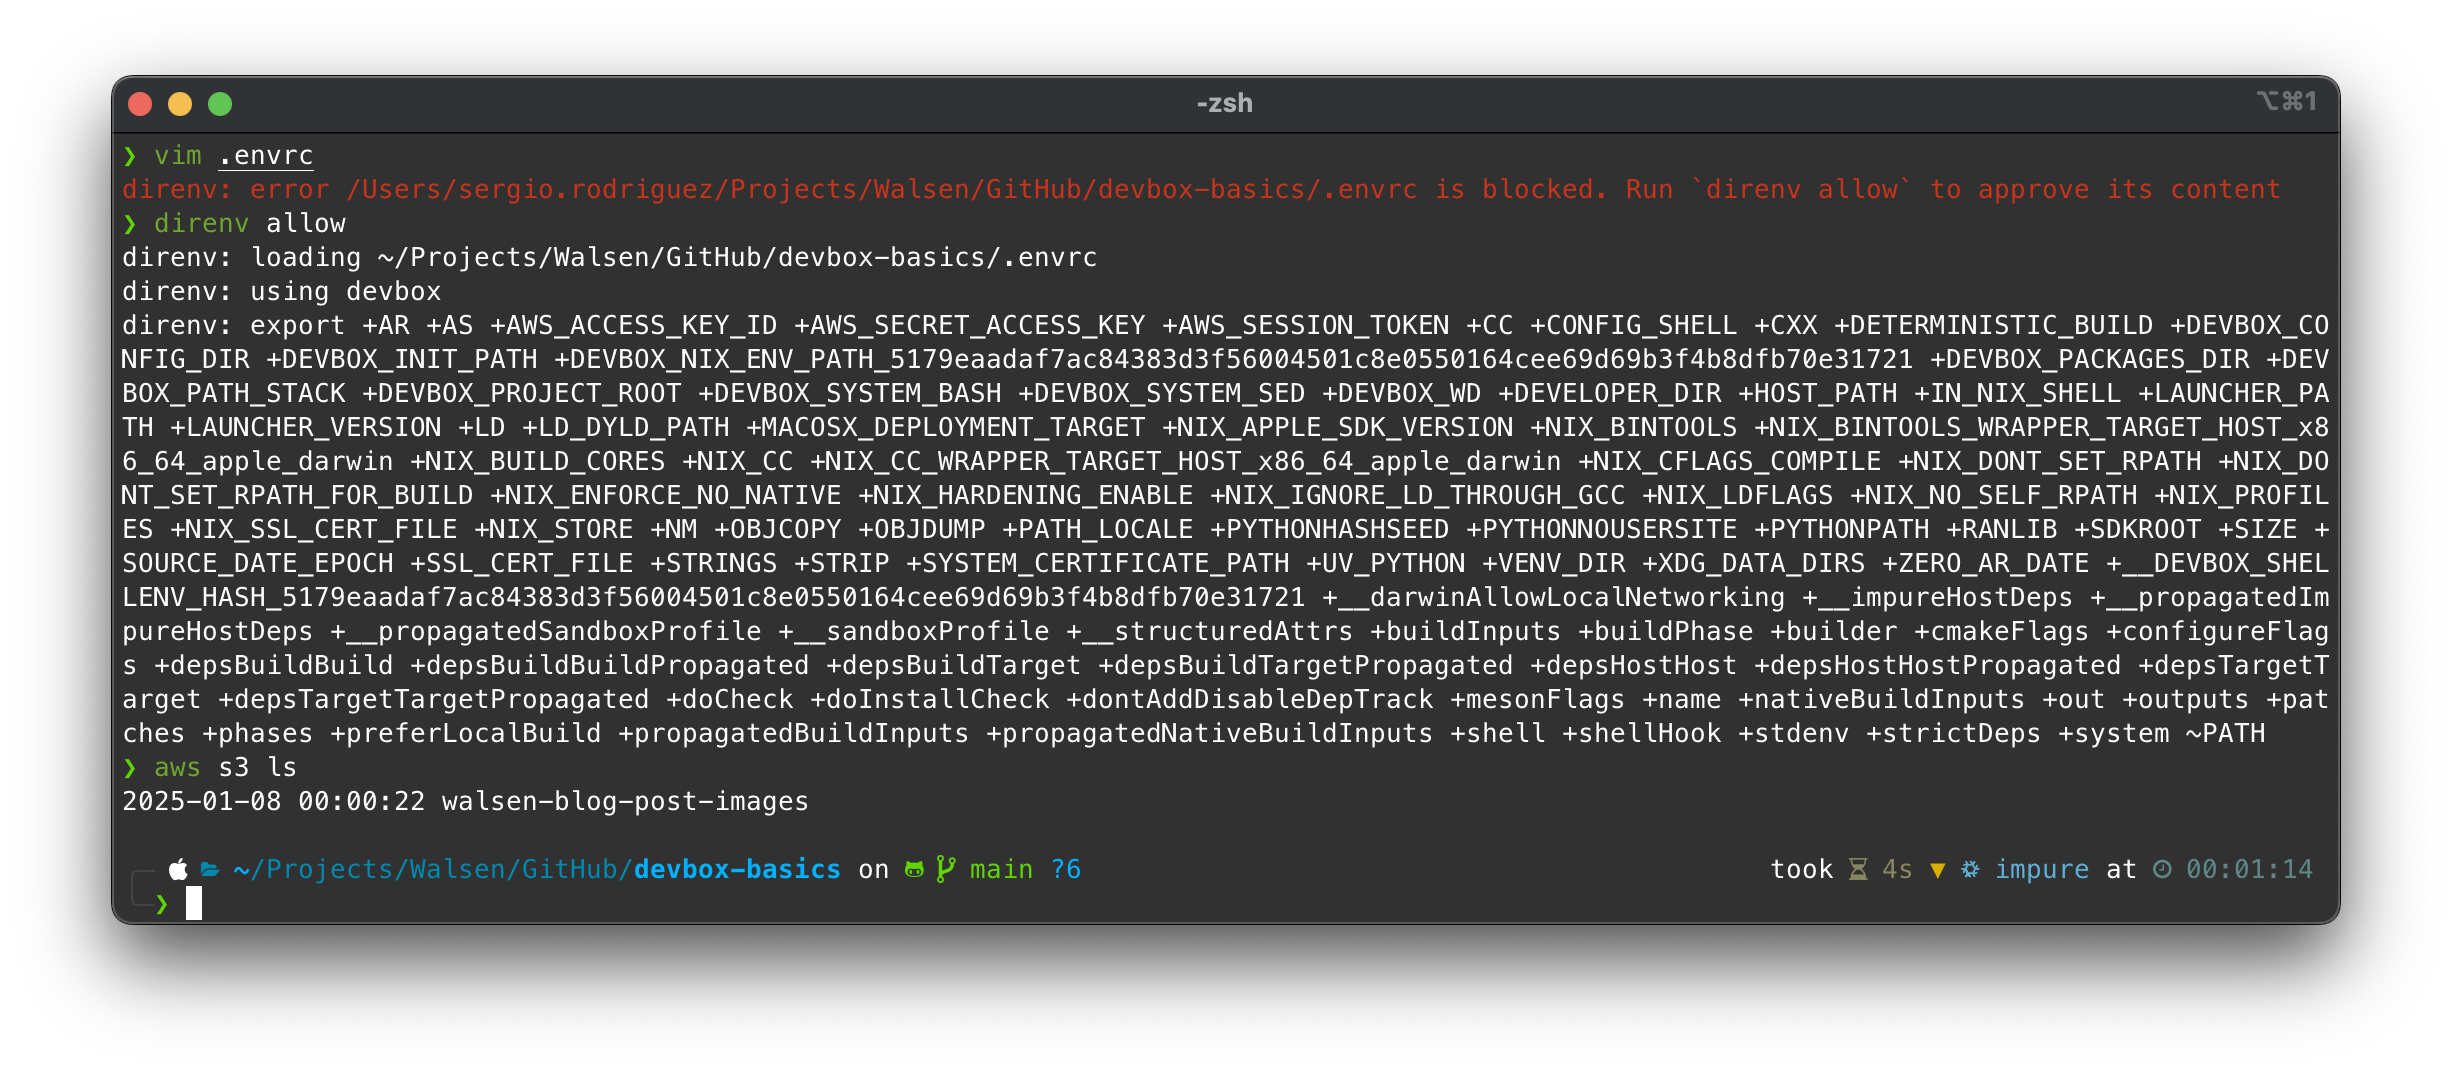
Finally, we test the access keys by listing our buckets in S3.
🚨 WARNING!! 🚨
NEVER send credentials or any sensitive text to the repository. Therefore, a good practice would be to leave the value of the access keys blank, submit the
.envrcto the repo, add it to.gitignoreafterward, and then it wouldn’t be taken into account for future submissions. Other team members could use their personal credentials without fear of submitting them later.
Step 6: Implement Automation
To test the automation features of Devbox, we will add a simple Python script that shows us the buckets in S3, replicating the command aws s3 ls.
The code would be as follows:
#!/usr/bin/env python3

import boto3
from botocore.exceptions import ClientError

def list_s3_buckets():
    """
    List all S3 buckets in the AWS account
    """
    try:
        # Create an S3 client
        s3_client = boto3.client('s3')

        # Get list of buckets
        response = s3_client.list_buckets()

        print("S3 Buckets:")
        print("-----------")

        # Print bucket names
        for bucket in response['Buckets']:
            print(f"- {bucket['Name']}")

    except ClientError as e:
        print(f"Error: {e}")
        return None

if __name__ == "__main__":
    list_s3_buckets()
If we run the code, we will get an error message:
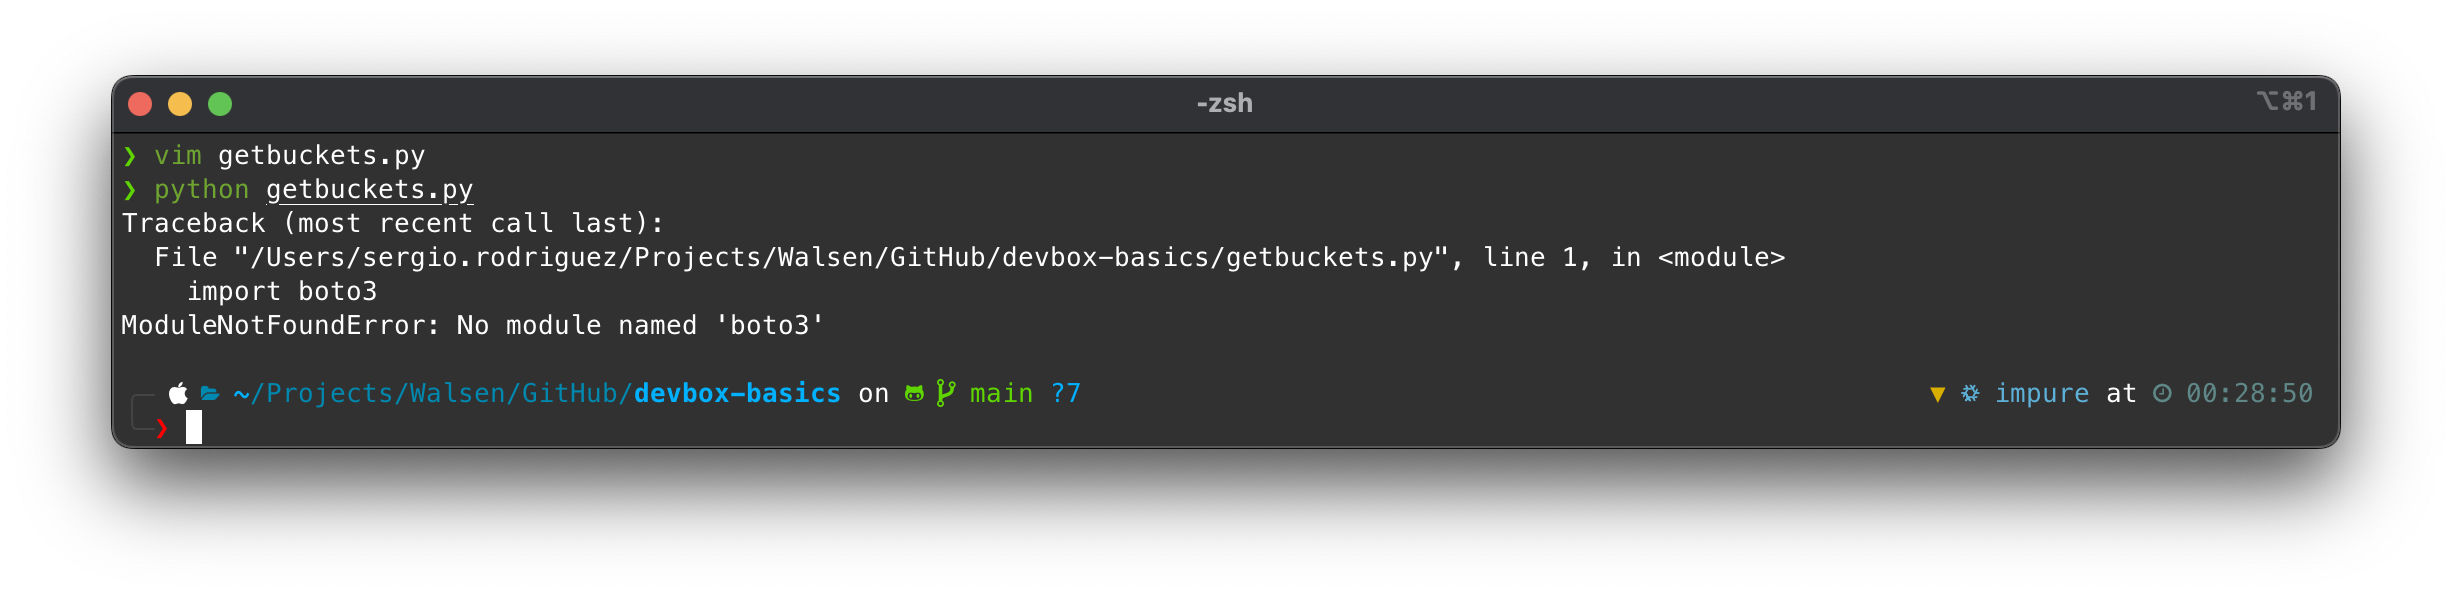
This is obviously because we haven’t activated the Pipenv virtualenv.
To avoid the hassle of doing it each time we enter the environment, we will automate this task by modifying the devbox.json as follows:
{
  "$schema": "https://raw.githubusercontent.com/jetify-com/devbox/0.13.7/.schema/devbox.schema.json",
  "packages": [
    "git@latest",
    "direnv@latest",
    "awscli2@latest",
    "python@3.12",
    "terraform@latest",
    "just@latest",
    "zellij@latest",
    "pipenv@latest"
  ],
  "env_from": ".env",
  "shell": {
    "init_hook": [
      "echo 'Welcome to devbox!'",
      "pipenv shell"
    ],
    "scripts": {
      "test": [
        "echo \"Error: no test specified\" && exit 1"
      ]
    }
  }
}
Environment Variables in a Virtualenv Shell
We have added a new attribute: env_from, which reads a .env file from the specified path and loads the environment variables. The reader may wonder why we are doing this since we already have direnv exporting variables for our Devbox environment; it is important to note that when the Python virtualenv is activated, a new shell is created with its own environment variables. To export our access keys to the virtualenv, we have to do it using this feature.
There is also the possibility of adding the variables directly in the devbox.json using the env block, but we want to add our access keys directly. Therefore, a .env file can be sent empty, allowing each user to add the variables for their environment.
So, our .env file contains:
AWS_ACCESS_KEY_ID="ASIA4RRMHHCFXBM0DKRM"
AWS_SECRET_ACCESS_KEY="4pqlKkaQNBlueLLHkNiWpgDNzihdNfgTYjy3tYk0w"
Commands in the init_hook
We have added the command pipenv shell as the second value in the init_hook list so that when the Devbox shell starts, it also starts the Pipenv virtualenv. The result should be similar to this:
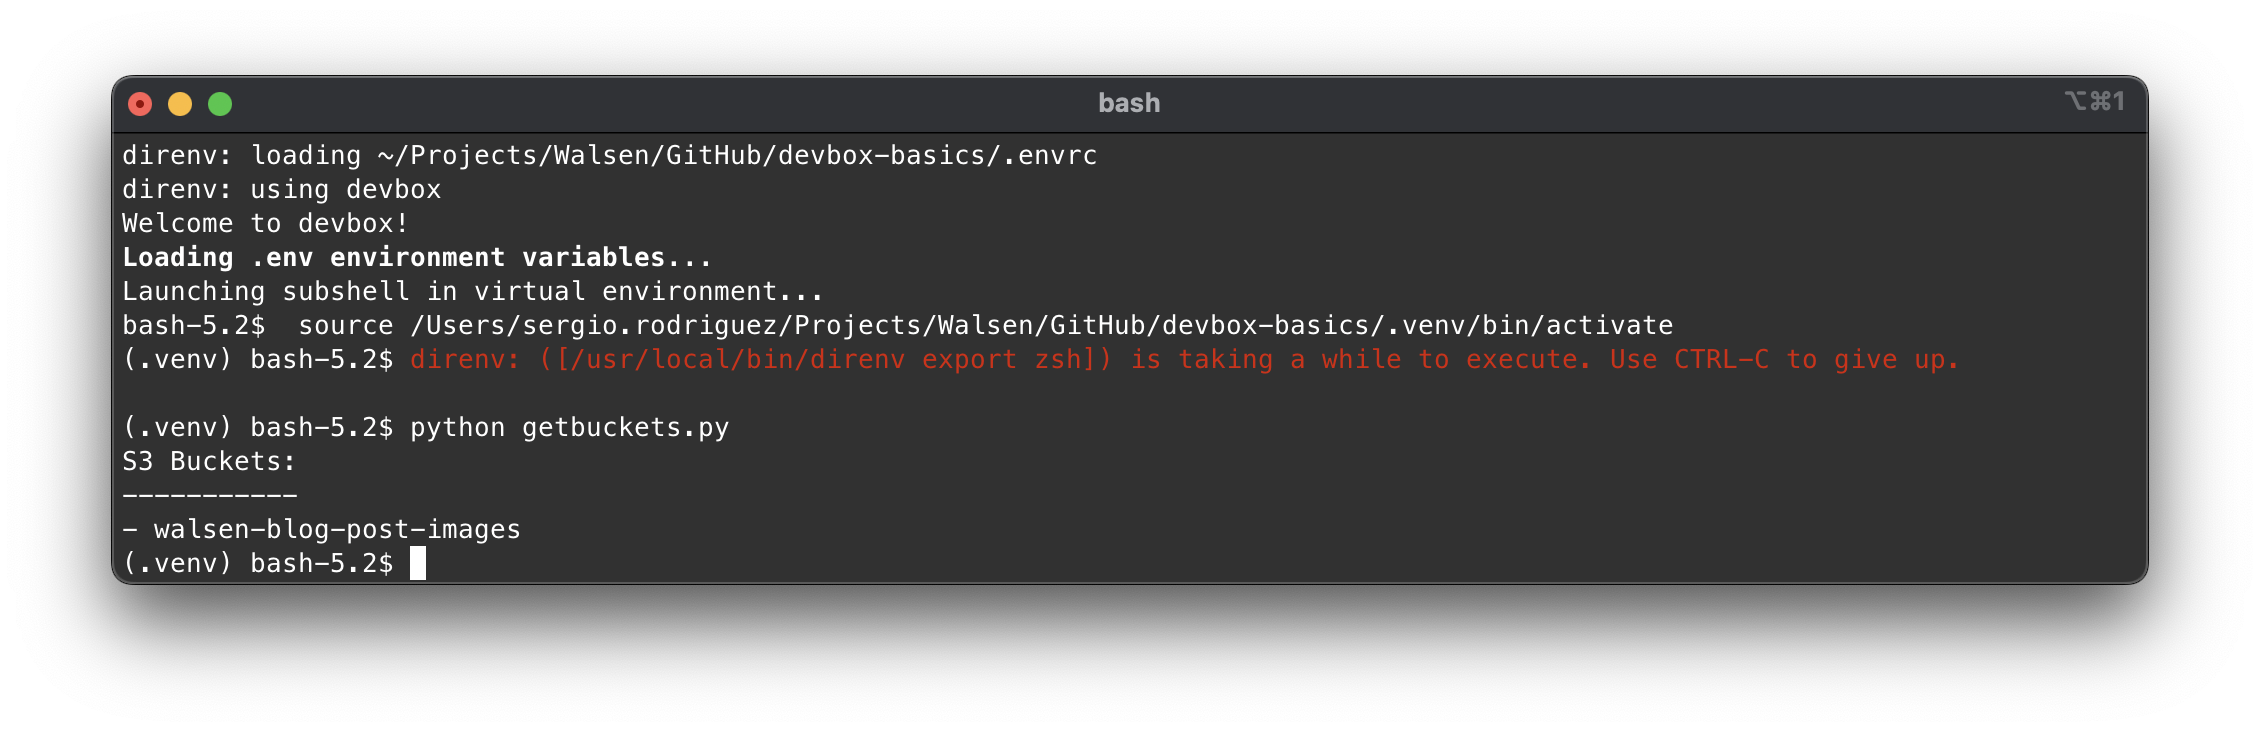
And if we run our script, we see that it works perfectly.
One thing I am still working on is updating the prompt, respecting the original shell’s or loading a new one. However, since the virtualenv’s activate script runs a bash shell, there is not much to do unless we patch this file, but unfortunately, that wouldn’t be portable.
If we don’t mind executing a simple command like pipenv shell manually, then the prompt will respect the current one, and we avoid this automation, especially since if we are working with Terraform in the same repository, we may not want to be in the virtualenv all the time. In any case, this is just an example of what we can do.
Scripts
Devbox allows us to run scripts using the environment without the need to activate the shell; for example, we can run the script that lists buckets by modifying the devbox.json as follows:
{
  "$schema": "https://raw.githubusercontent.com/jetify-com/devbox/0.13.7/.schema/devbox.schema.json",
  "packages": [
    "git@latest",
    "direnv@latest",
    "awscli2@latest",
    "python@3.12",
    "terraform@latest",
    "just@latest",
    "zellij@latest",
    "pipenv@latest"
  ],
  "env_from": ".env",
  "shell": {
    "init_hook": [
      "echo 'Welcome to devbox!'"
    ],
    "scripts": {
      "getbuckets": "pipenv run python getbuckets.py"
    }
  }
}
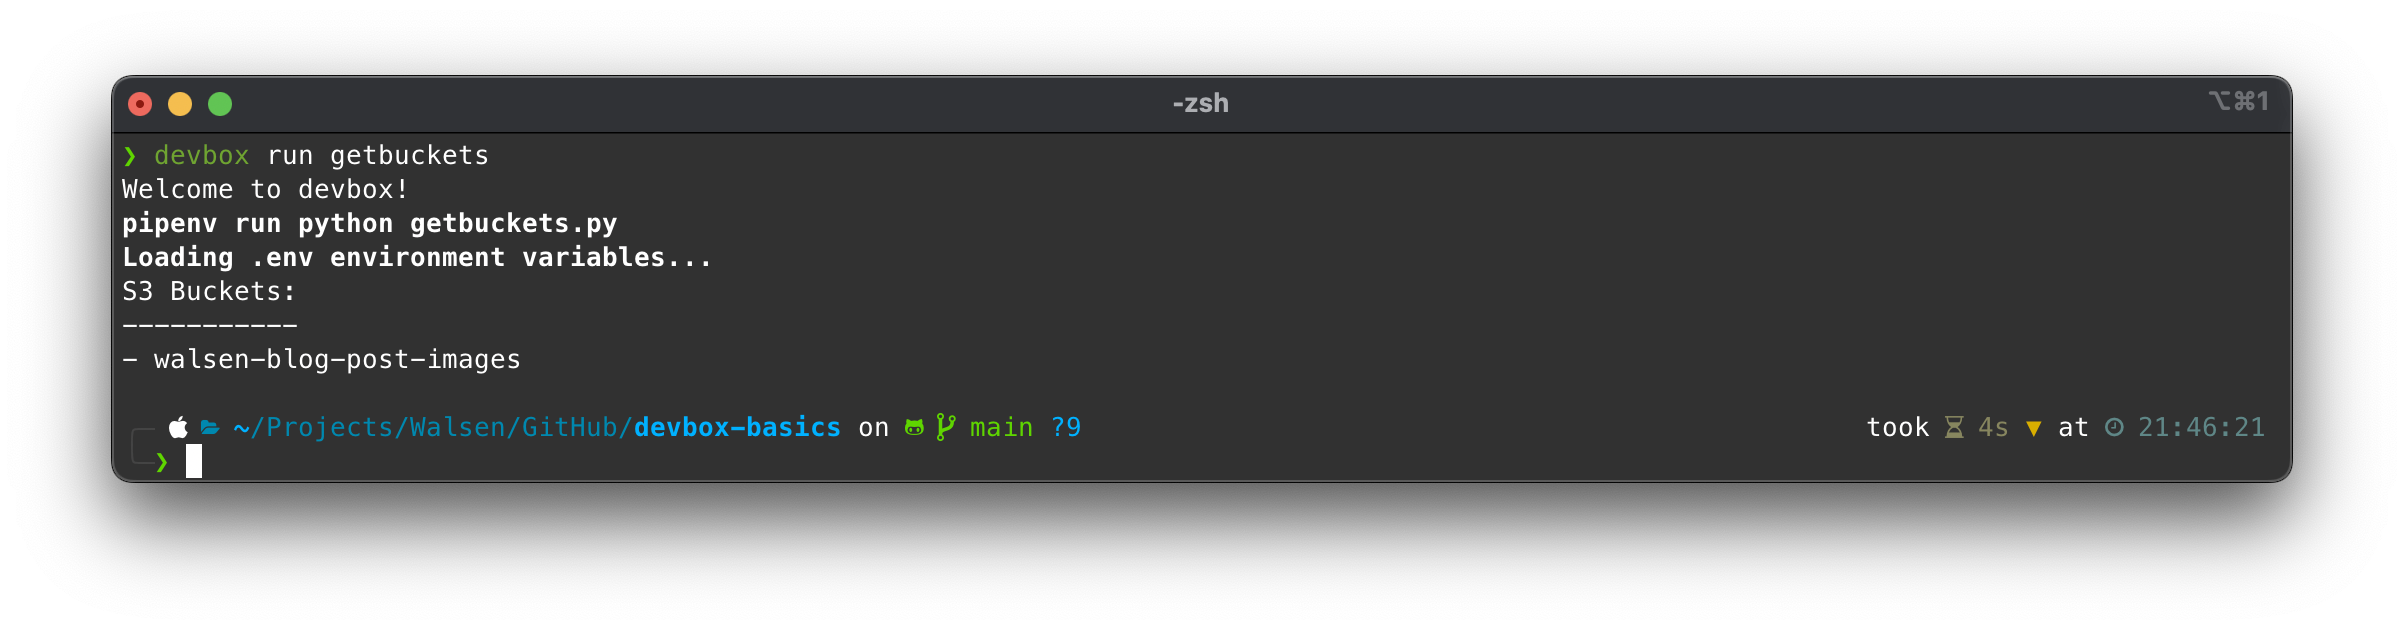
Now we simply need to invoke the key getbuckets in the devbox run ... command:
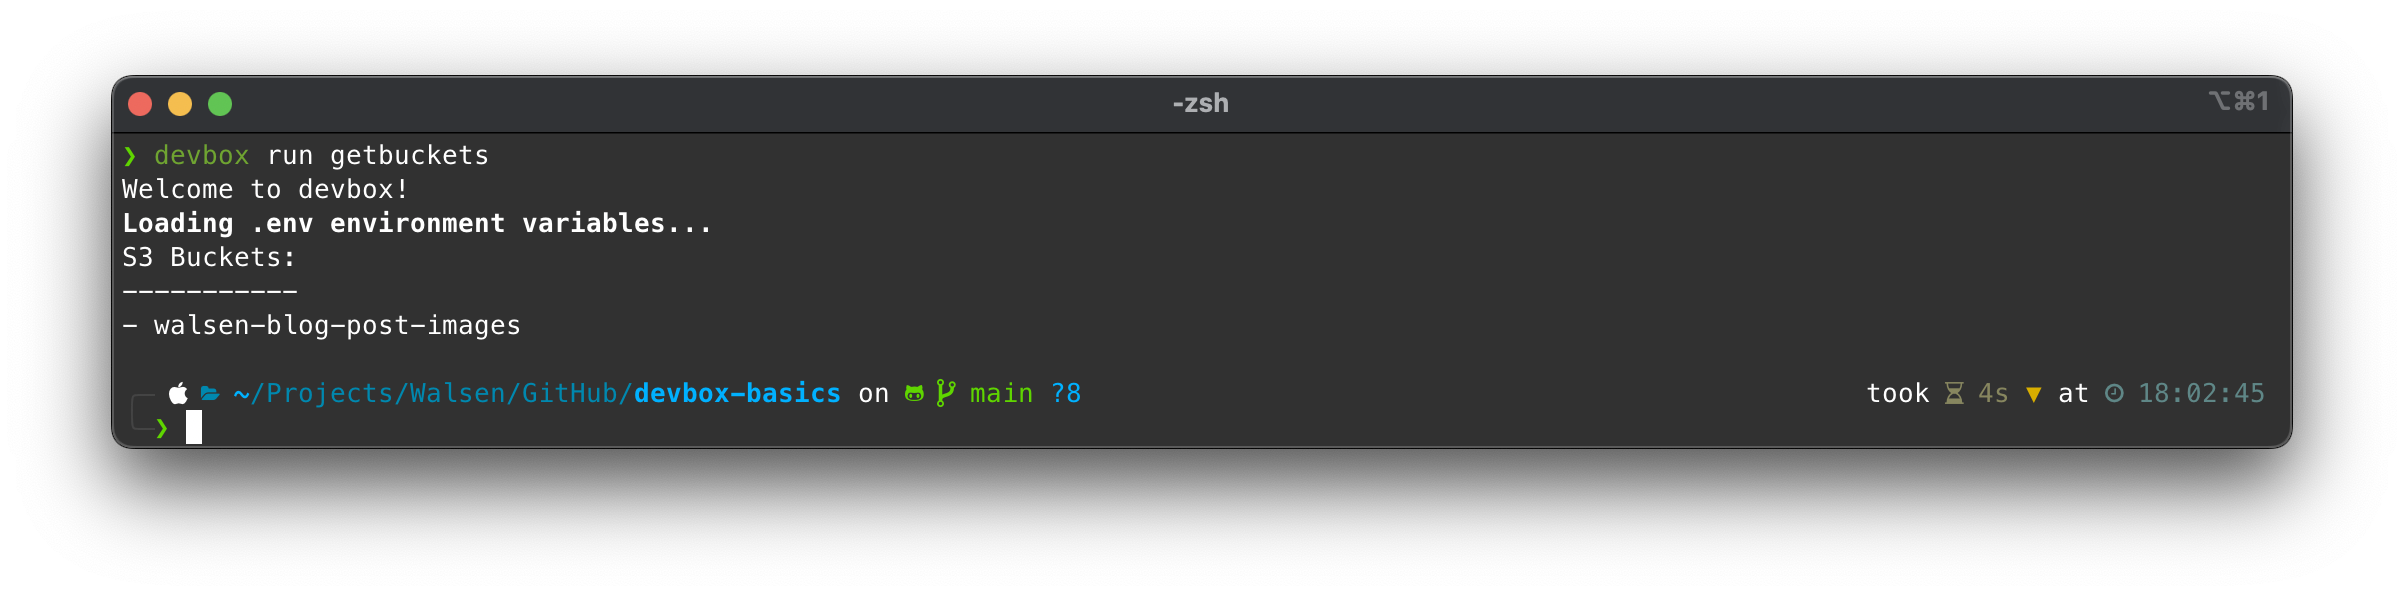
Devbox will temporarily raise the shell, load the variables, and execute pipenv run, which in turn will execute python getbuckets.py in its Python environment.
We must emphasize that the
devbox runcommand is executed when the Devbox shell has not been activated; if we have direnv configured to automatically load the environment, then it will not work. To disable the automatic loading of the Devbox shell, we simply run:direnv disallowAnd the shell will no longer load when entering the directory.
Integration with Tools and Advanced Automation
Devbox provides us with the ability to chain commands when starting the environment or when executing scripts, but we can do more than just run simple commands. We can take advantage of lightweight task execution and workflow tools, such as:
To demonstrate this point, we will create a set of Terraform scripts to launch an EC2 instance.
main.tf
provider "aws" {
  region = var.aws_region
}

resource "aws_instance" "app_server" {
  ami           = data.aws_ami.amazon_linux_2.id
  instance_type = var.instance_type

  subnet_id                   = aws_subnet.main.id
  vpc_security_group_ids      = [aws_security_group.instance_sg.id]
  associate_public_ip_address = true

  tags = {
    Name = var.instance_name
  }
}

# Get latest Amazon Linux 2 AMI
data "aws_ami" "amazon_linux_2" {
  most_recent = true
  owners      = ["amazon"]

  filter {
    name   = "name"
    values = ["amzn2-ami-hvm-*-x86_64-gp2"]
  }

  filter {
    name   = "virtualization-type"
    values = ["hvm"]
  }
}
variables.tf
variable "aws_region" {
  description = "AWS region"
  type        = string
  default     = "us-east-1"
}

variable "instance_type" {
  description = "EC2 instance type"
  type        = string
  default     = "t2.micro"
}

variable "instance_name" {
  description = "Value of the Name tag for the EC2 instance"
  type        = string
  default     = "AppServer"
}

variable "vpc_cidr" {
  description = "CIDR block for VPC"
  type        = string
  default     = "10.0.0.0/16"
}

variable "subnet_cidr" {
  description = "CIDR block for subnet"
  type        = string
  default     = "10.0.1.0/24"
}
network.tf
# VPC
resource "aws_vpc" "main" {
  cidr_block           = var.vpc_cidr
  enable_dns_hostnames = true
  enable_dns_support   = true

  tags = {
    Name = "main"
  }
}

# Public Subnet
resource "aws_subnet" "main" {
  vpc_id                  = aws_vpc.main.id
  cidr_block             = var.subnet_cidr
  map_public_ip_on_launch = true
  availability_zone       = "${var.aws_region}a"

  tags = {
    Name = "Main"
  }
}

# Internet Gateway
resource "aws_internet_gateway" "main" {
  vpc_id = aws_vpc.main.id

  tags = {
    Name = "Main"
  }
}

# Route Table
resource "aws_route_table" "main" {
  vpc_id = aws_vpc.main.id

  route {
    cidr_block = "0.0.0.0/0"
    gateway_id = aws_internet_gateway.main.id
  }

  tags = {
    Name = "Main"
  }
}

# Route Table Association
resource "aws_route_table_association" "main" {
  subnet_id      = aws_subnet.main.id
  route_table_id = aws_route_table.main.id
}
security.tf
resource "aws_security_group" "instance_sg" {
  name        = "instance_sg"
  description = "Security group for EC2 instance"
  vpc_id      = aws_vpc.main.id

  # SSH access
  ingress {
    from_port   = 22
    to_port     = 22
    protocol    = "tcp"
    cidr_blocks = ["0.0.0.0/0"]
  }

  # Outbound internet access
  egress {
    from_port   = 0
    to_port     = 0
    protocol    = "-1"
    cidr_blocks = ["0.0.0.0/0"]
  }

  tags = {
    Name = "instance_sg"
  }
}
outputs.tf
output "instance_id" {
  description = "ID of the EC2 instance"
  value       = aws_instance.app_server.id
}

output "instance_public_ip" {
  description = "Public IP address of the EC2 instance"
  value       = aws_instance.app_server.public_ip
}

output "instance_public_dns" {
  description = "Public DNS name of the EC2 instance"
  value       = aws_instance.app_server.public_dns
}
Now that we have the Terraform script, we create a small build script called justfile to execute the Terraform commands. Additionally, we will include a task to run our script to retrieve buckets in Python:
justfile
# Set the default recipe to list available recipes
default:
    @just --list

# Initialize Terraform
init:
    terraform init

# Show changes required by the current configuration
plan:
    terraform plan -out=tfplan

# Apply the changes required to reach the desired state
apply:
    terraform apply tfplan

# Destroy all remote objects managed by this Terraform configuration
destroy:
    terraform plan -destroy -out=tfplan
    @echo "Review the destruction plan carefully!"
    @echo "To proceed with destruction, run: just apply"

# Clean up local Terraform files
clean:
    rm -rf .terraform/
    rm -f tfplan
    rm -f .terraform.lock.hcl

# Format Terraform files
fmt:
    terraform fmt -recursive

# Validate Terraform files
validate:
    terraform validate

# Show current workspace
workspace-show:
    terraform workspace show

# Create and switch to a new workspace
workspace-new name:
    terraform workspace new {{name}}

# Switch to an existing workspace
workspace-select name:
    terraform workspace select {{name}}

# List all workspaces
workspace-list:
    terraform workspace list

# Combined recipe to plan and apply in one command (use with caution)
deploy: plan apply

# Combined recipe to initialize, plan and apply in one command (use with caution)
setup: init plan apply

# Combined recipe to destroy and clean up
teardown: destroy apply clean

# Execute Python Boto3 script to get a formated list of S3 buckets
get-buckets:
  pipenv run python getbuckets.py
The advantage of using a task runner is that we can chain processes, add logic, and integrate tools. As seen in the justfile, we have added numerous capabilities for running sequences with Terraform as well as combining them with other tools, such as our Python script.
We will modify the devbox.json to use the tasks that interest us most:
{
  "$schema": "https://raw.githubusercontent.com/jetify-com/devbox/0.13.7/.schema/devbox.schema.json",
  "packages": [
    "git@latest",
    "direnv@latest",
    "awscli2@latest",
    "python@3.12",
    "terraform@latest",
    "just@latest",
    "zellij@latest",
    "pipenv@latest",
    "starship@latest"
  ],
  "env_from": ".env",
  "shell": {
    "init_hook": [
      "echo 'Welcome to devbox!'"
    ],
    "scripts": {
      "tasklist": "just",
      "tfinit": "just init",
      "tfplan": "just plan",
      "tfapply": "just apply",
      "tfdestroy": "just destroy",
      "tfdeploy": "just deploy",
      "tfsetup": "just setup",
      "tfteardown": "just teardown",
      "tfclean": "just clean",
      "getbuckets": "just get-buckets"
    }
  }
}
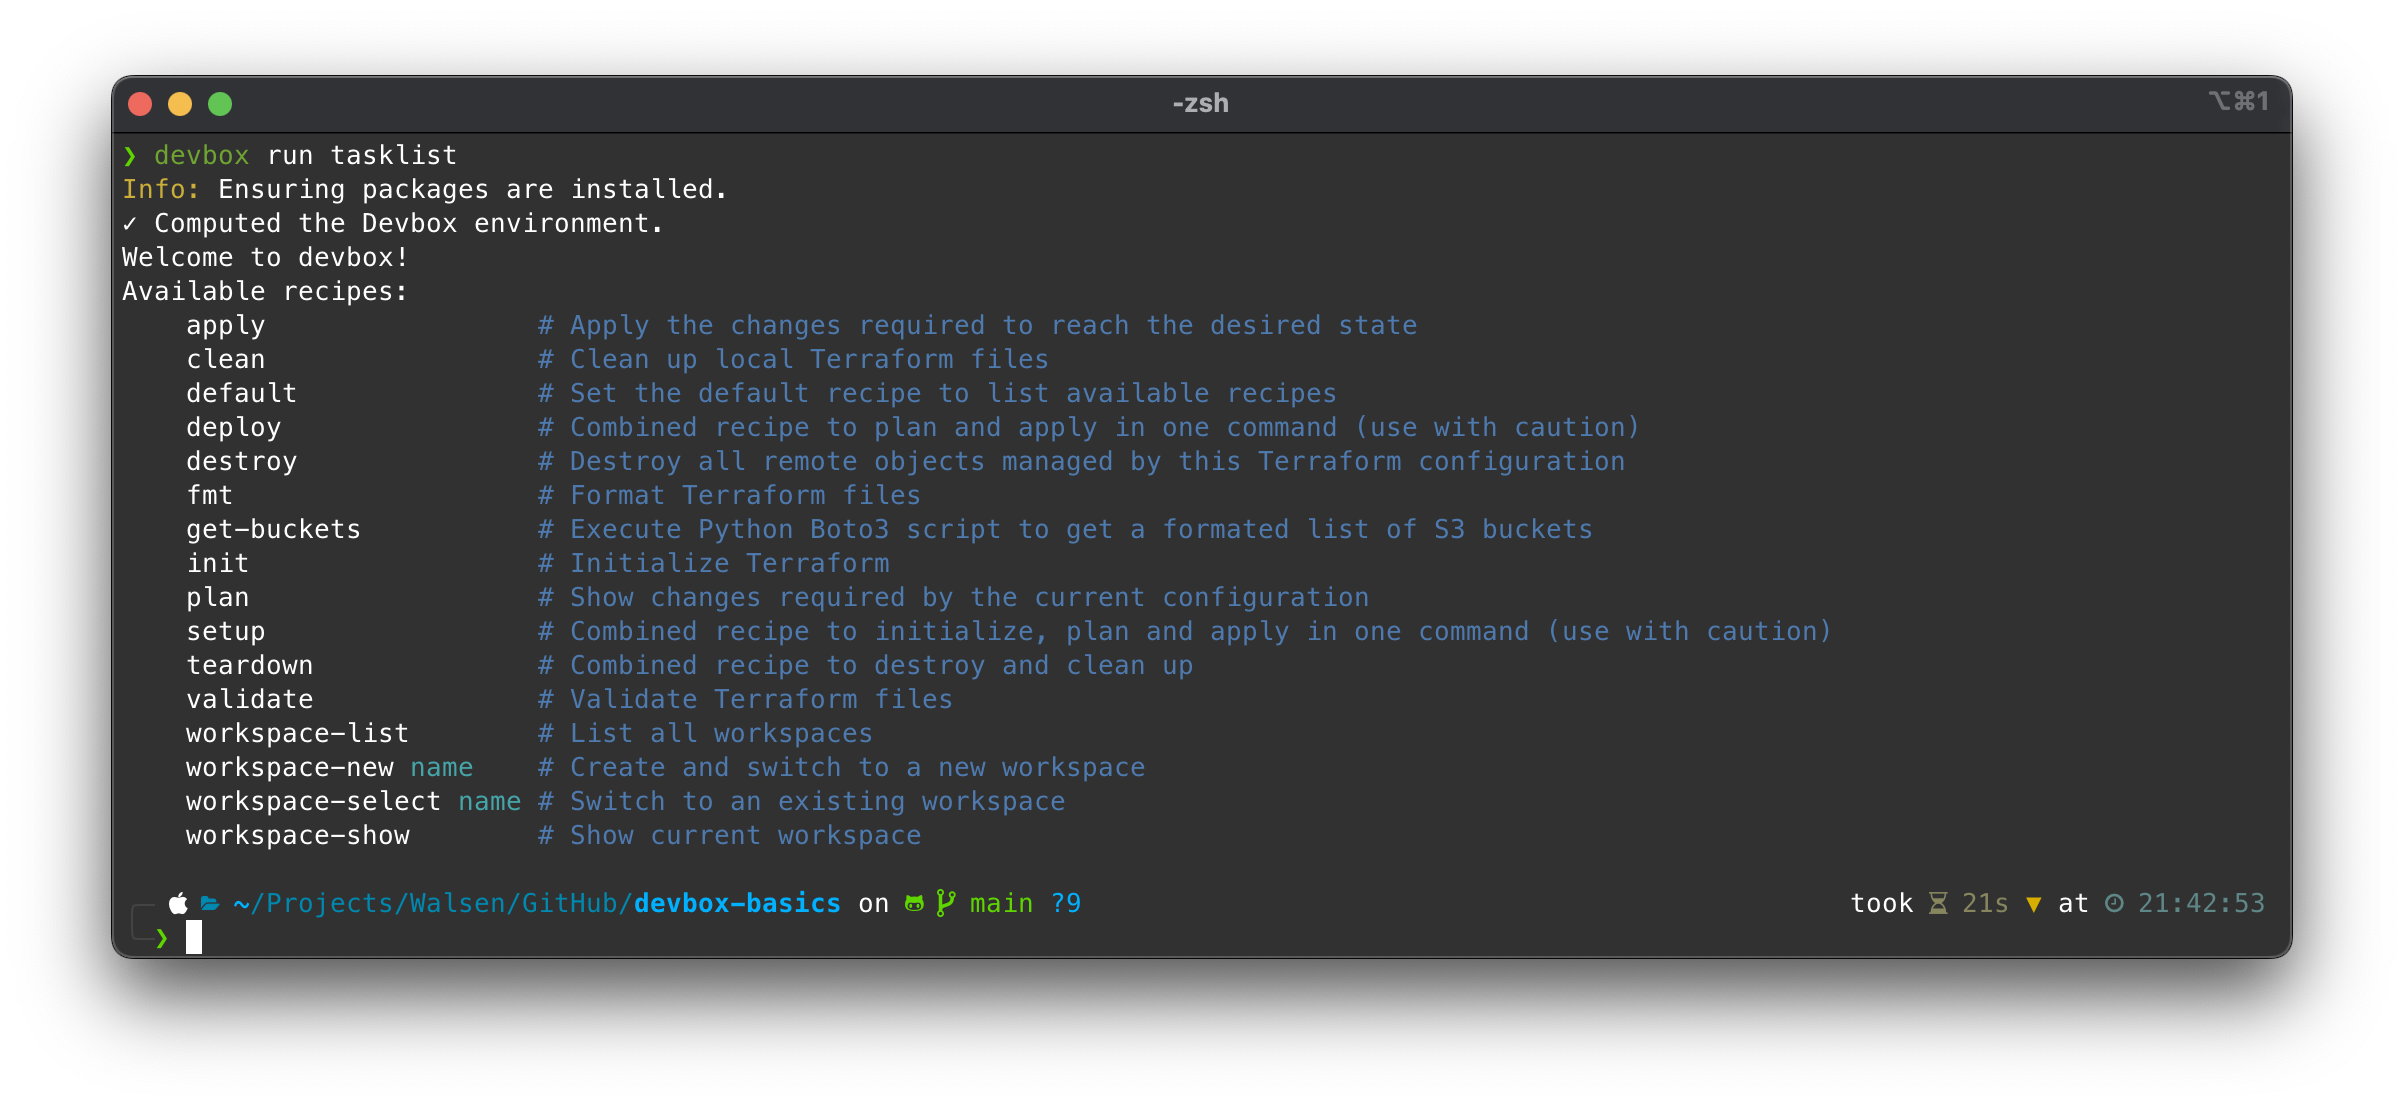
To start, let’s check the list of available tasks in Just:
Now let’s try to obtain the list of buckets:
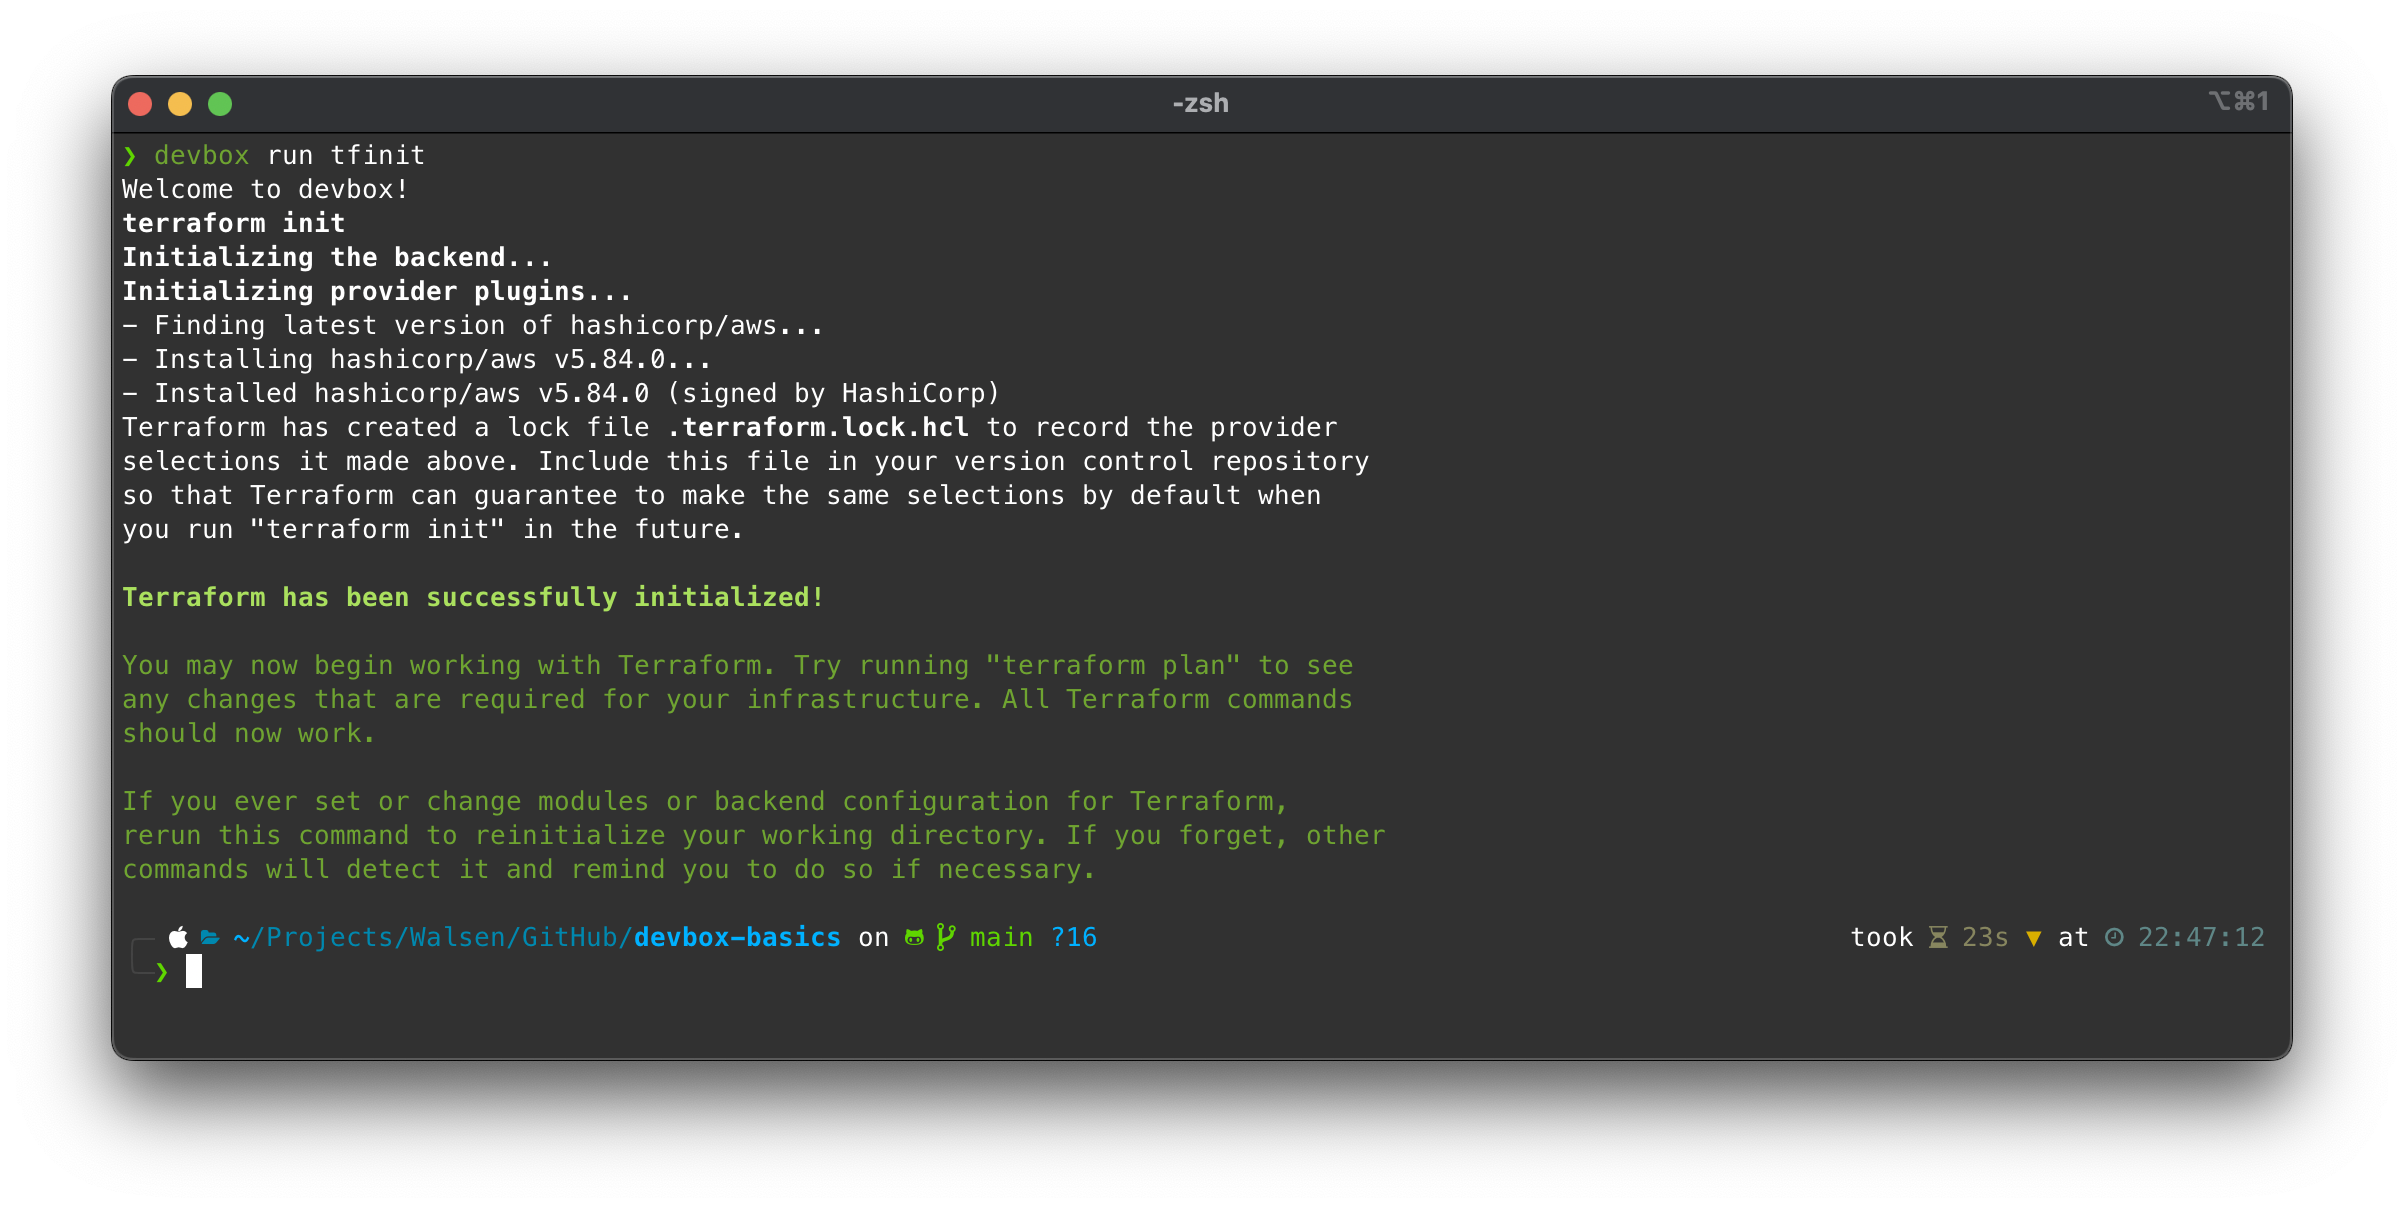
Let’s initialize the Terraform environment:
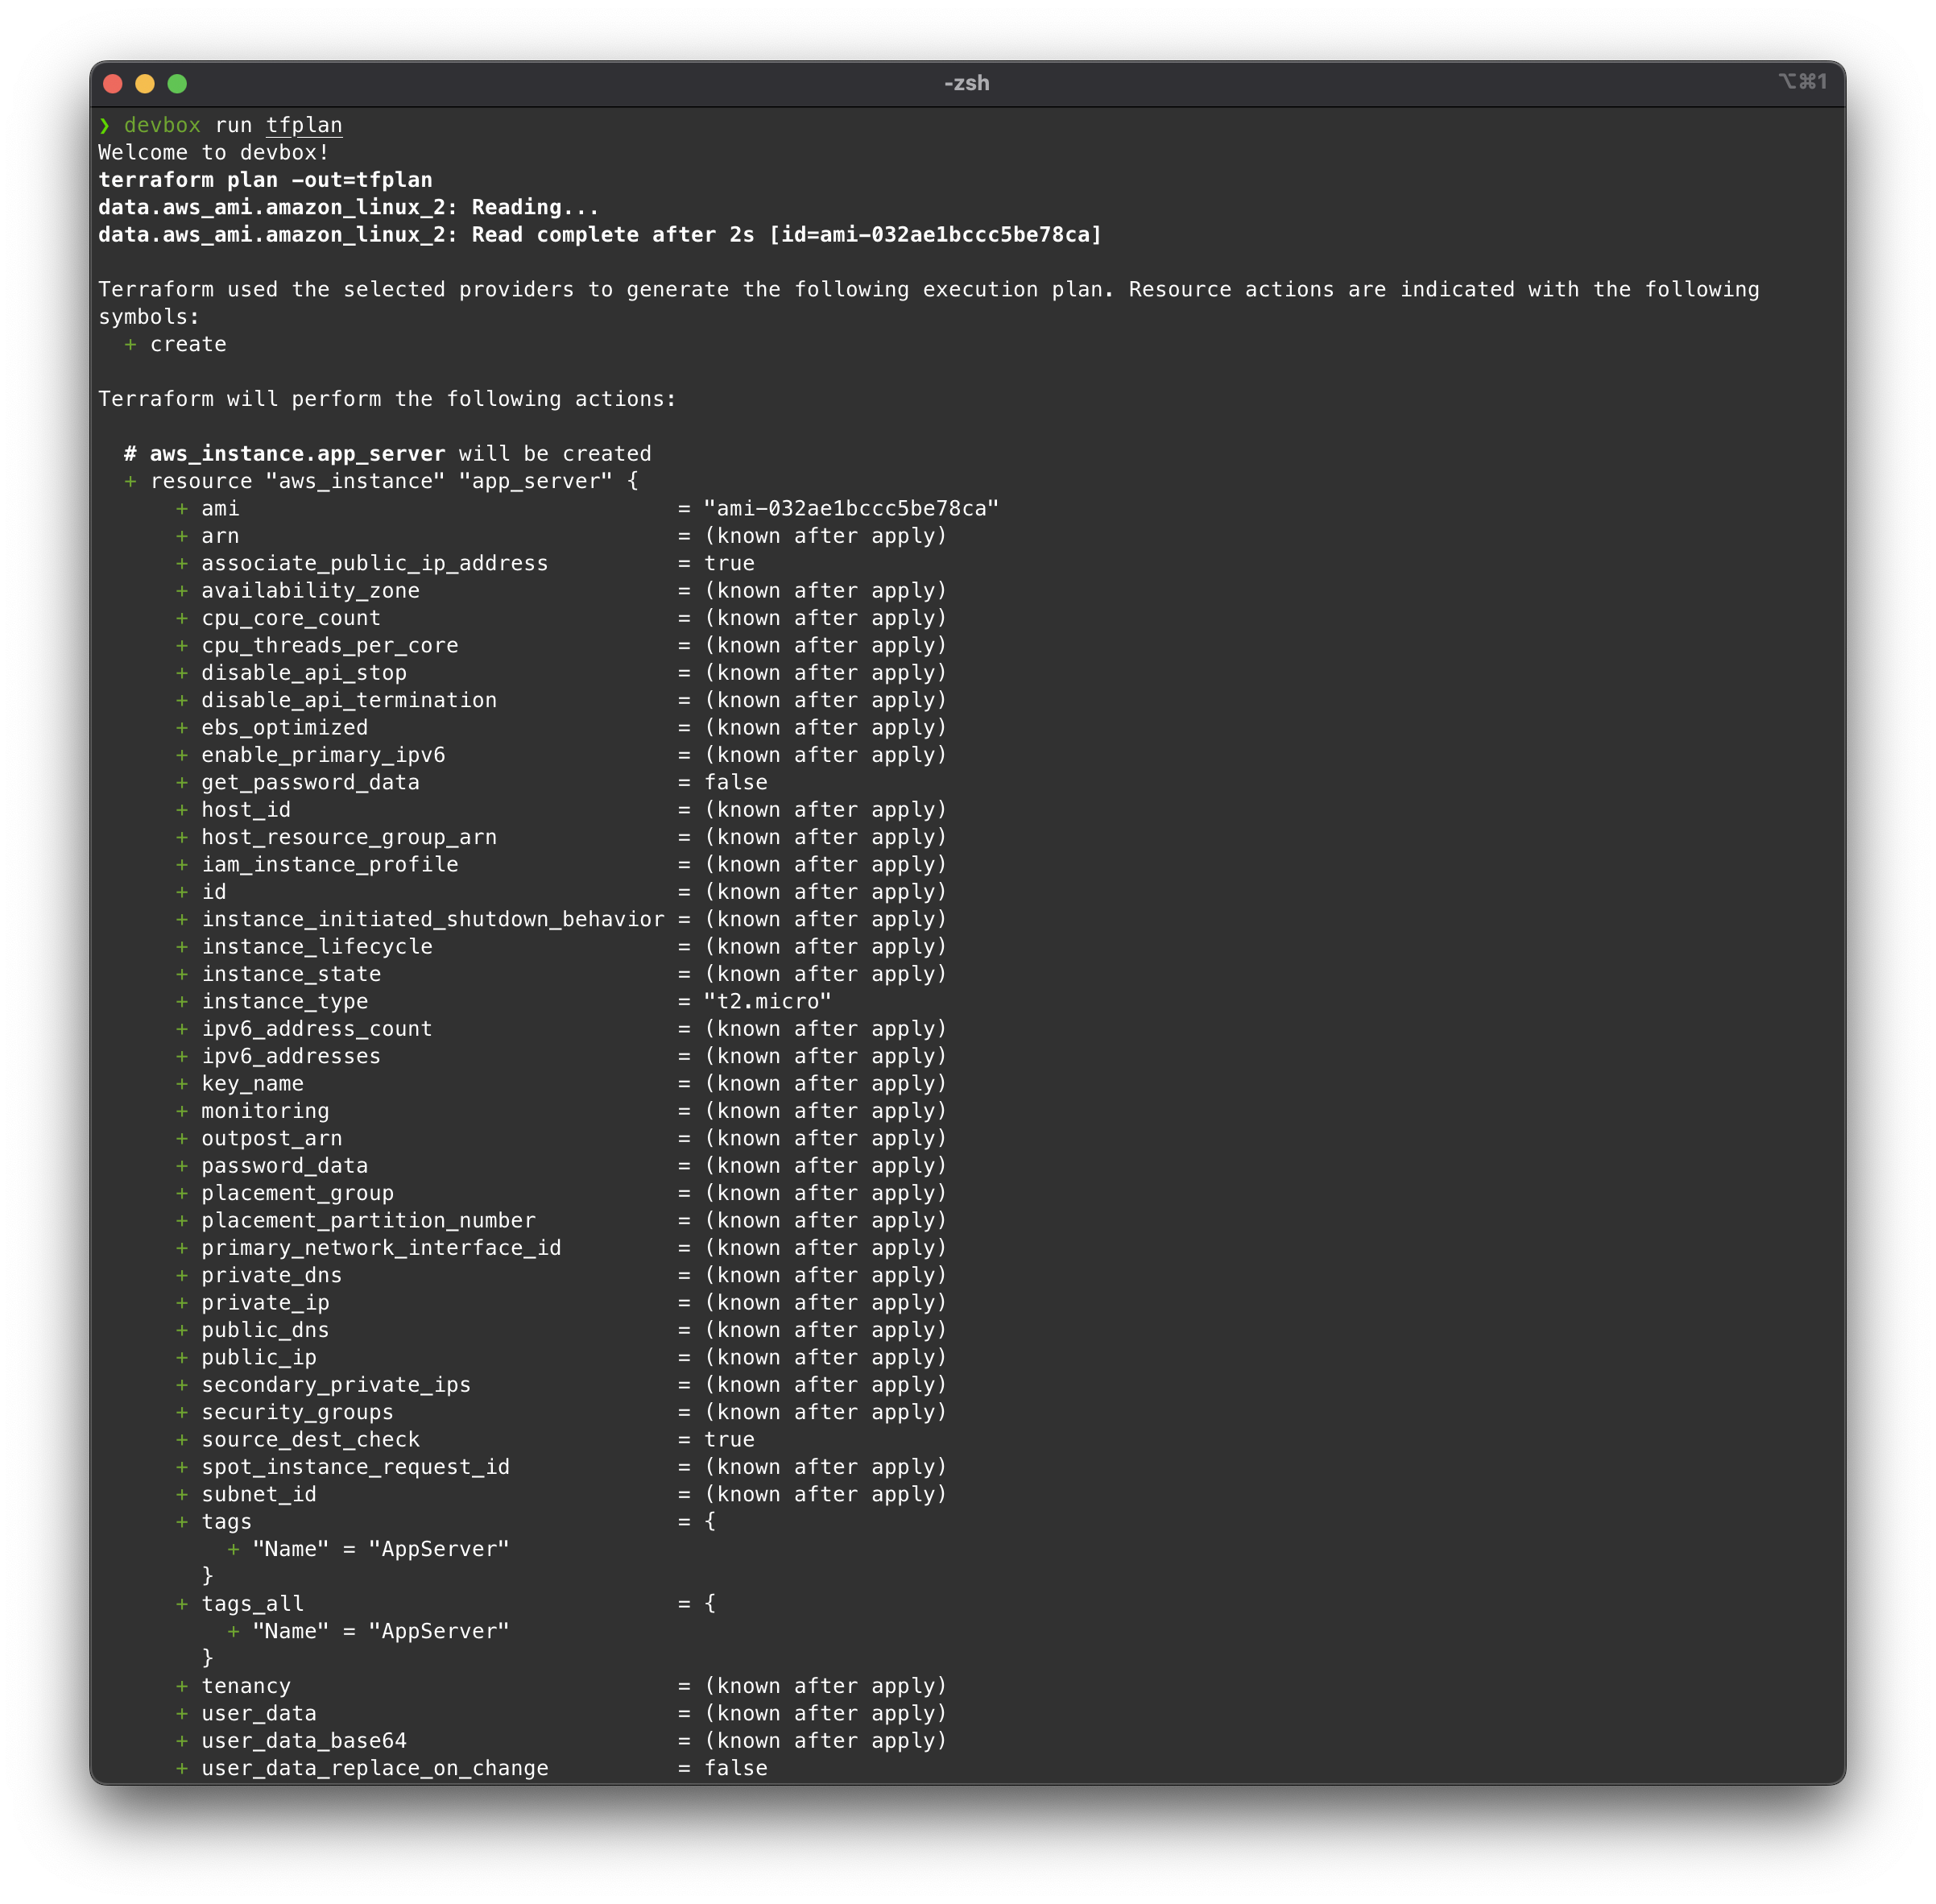
Now we can run a Terraform plan:
All good, let’s execute a deploy (apply):
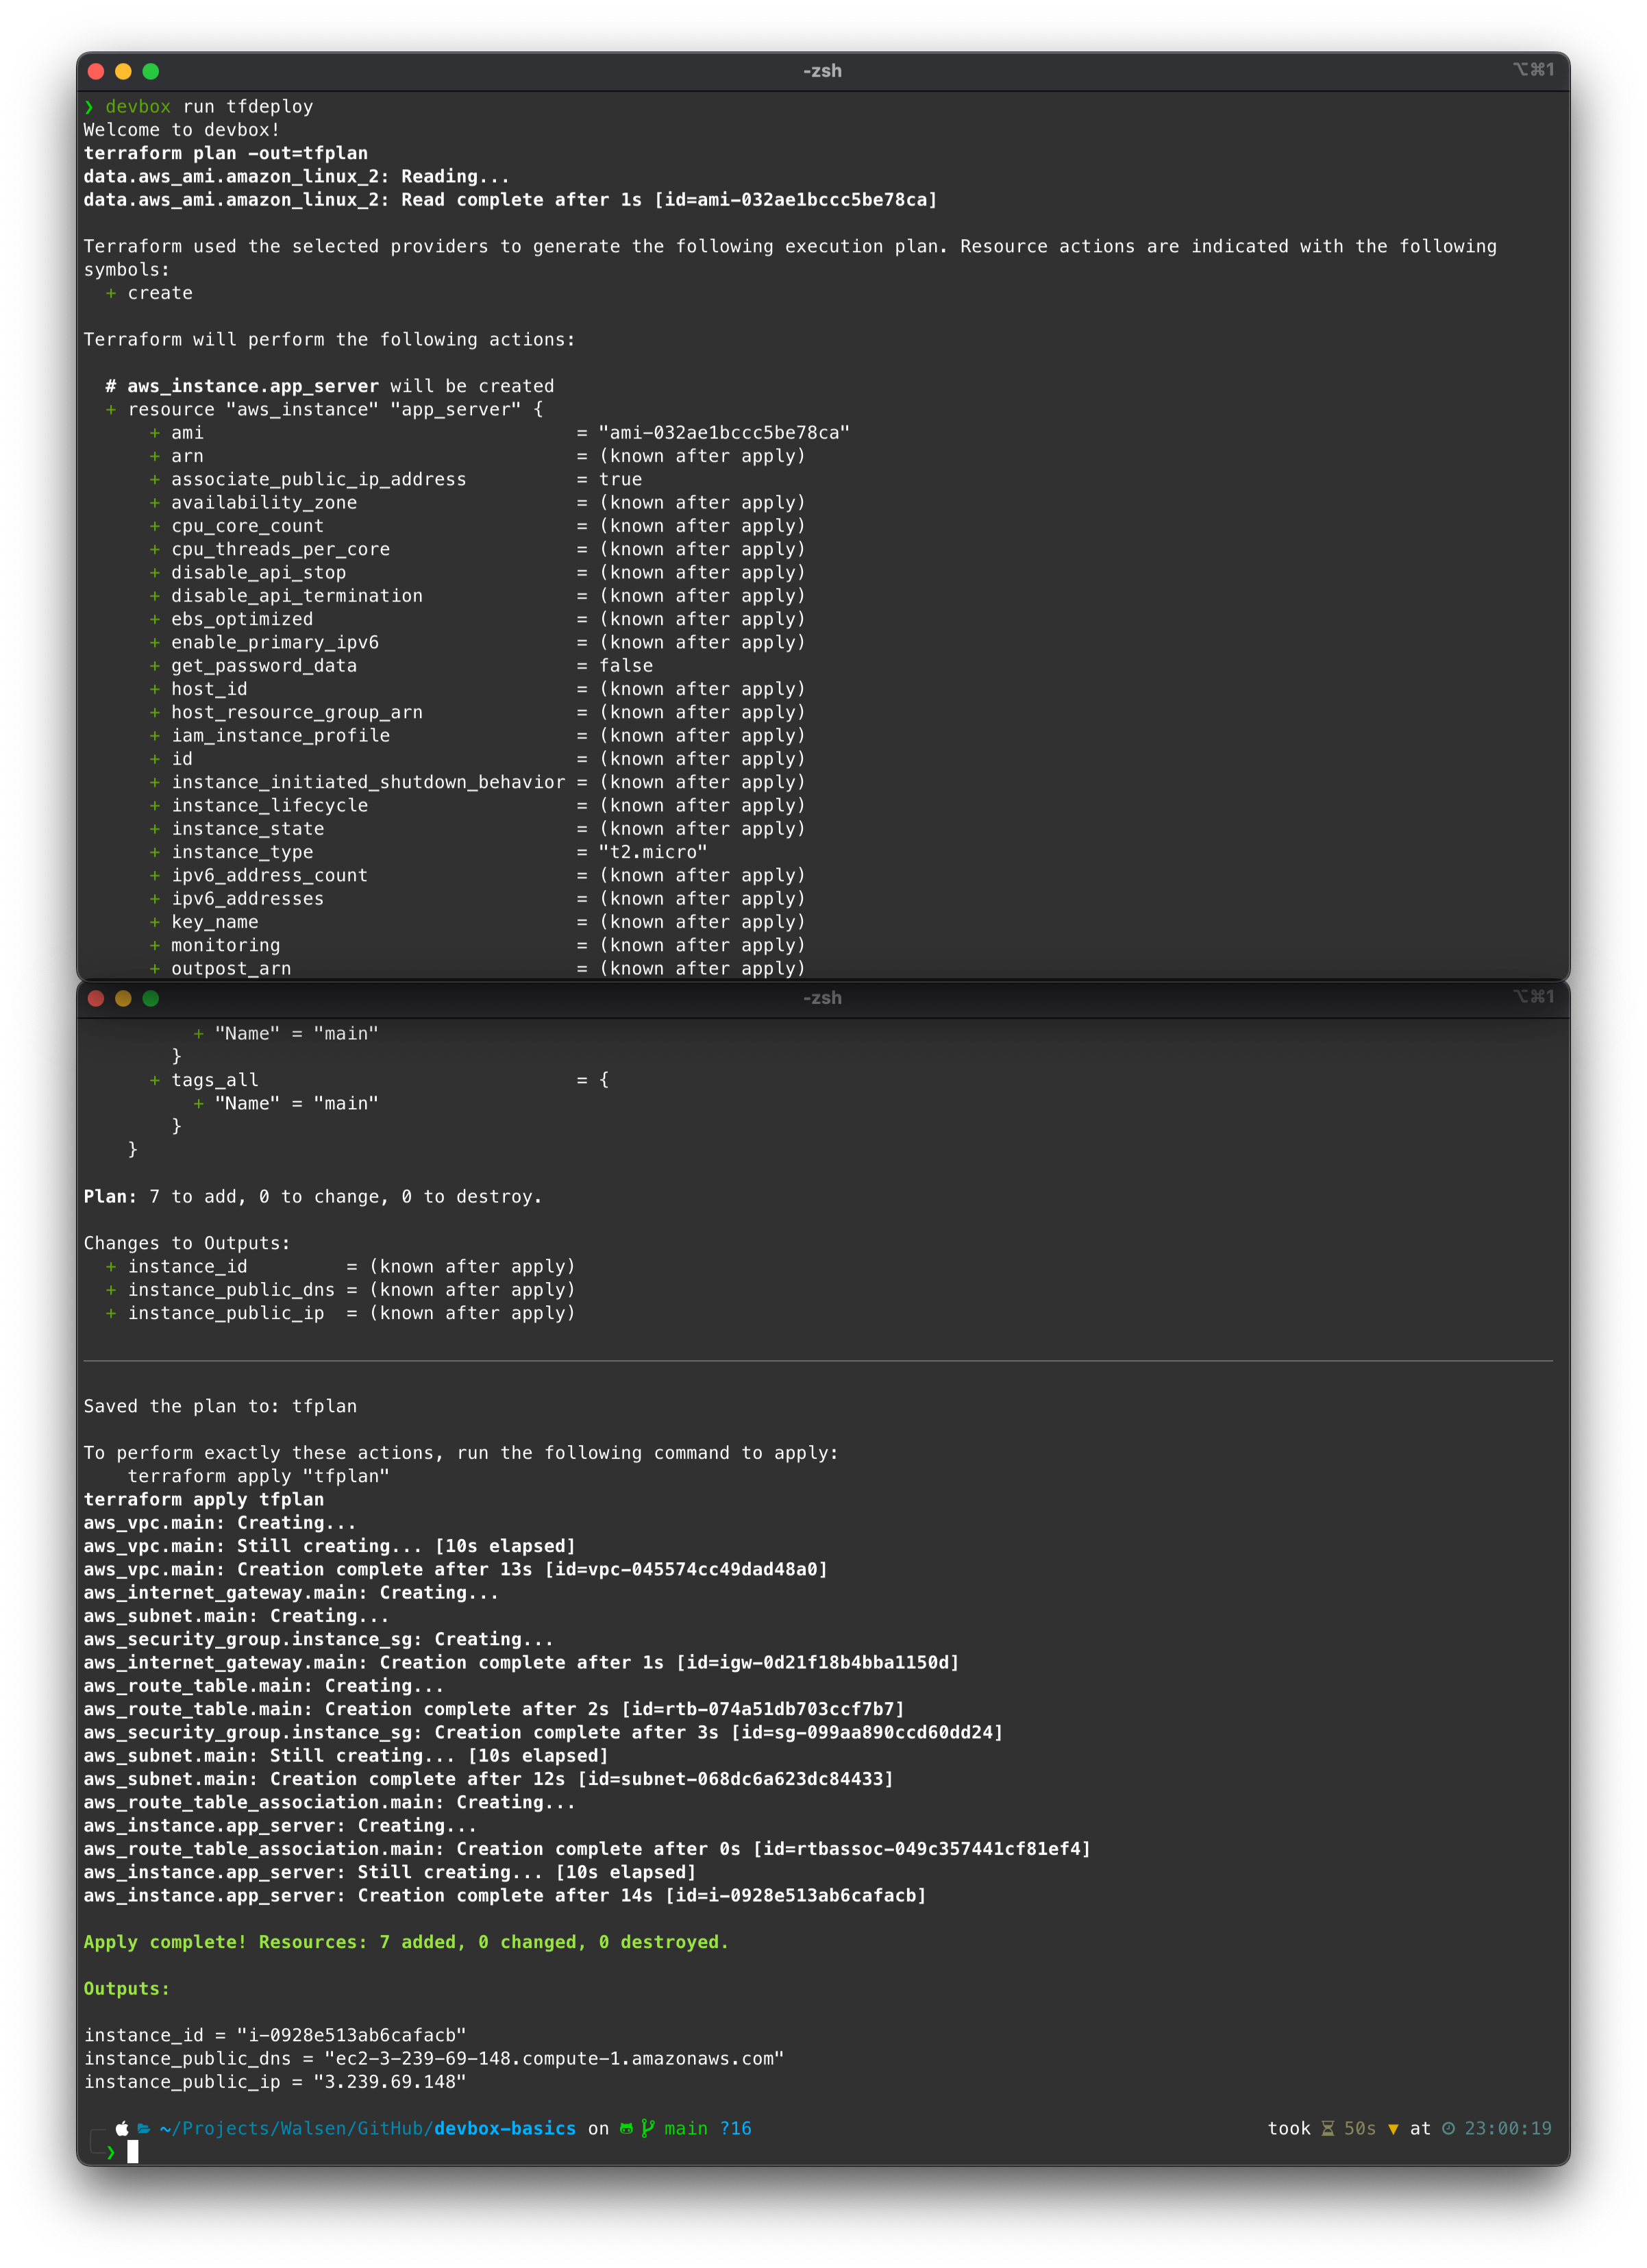
The resources were successfully created in AWS:
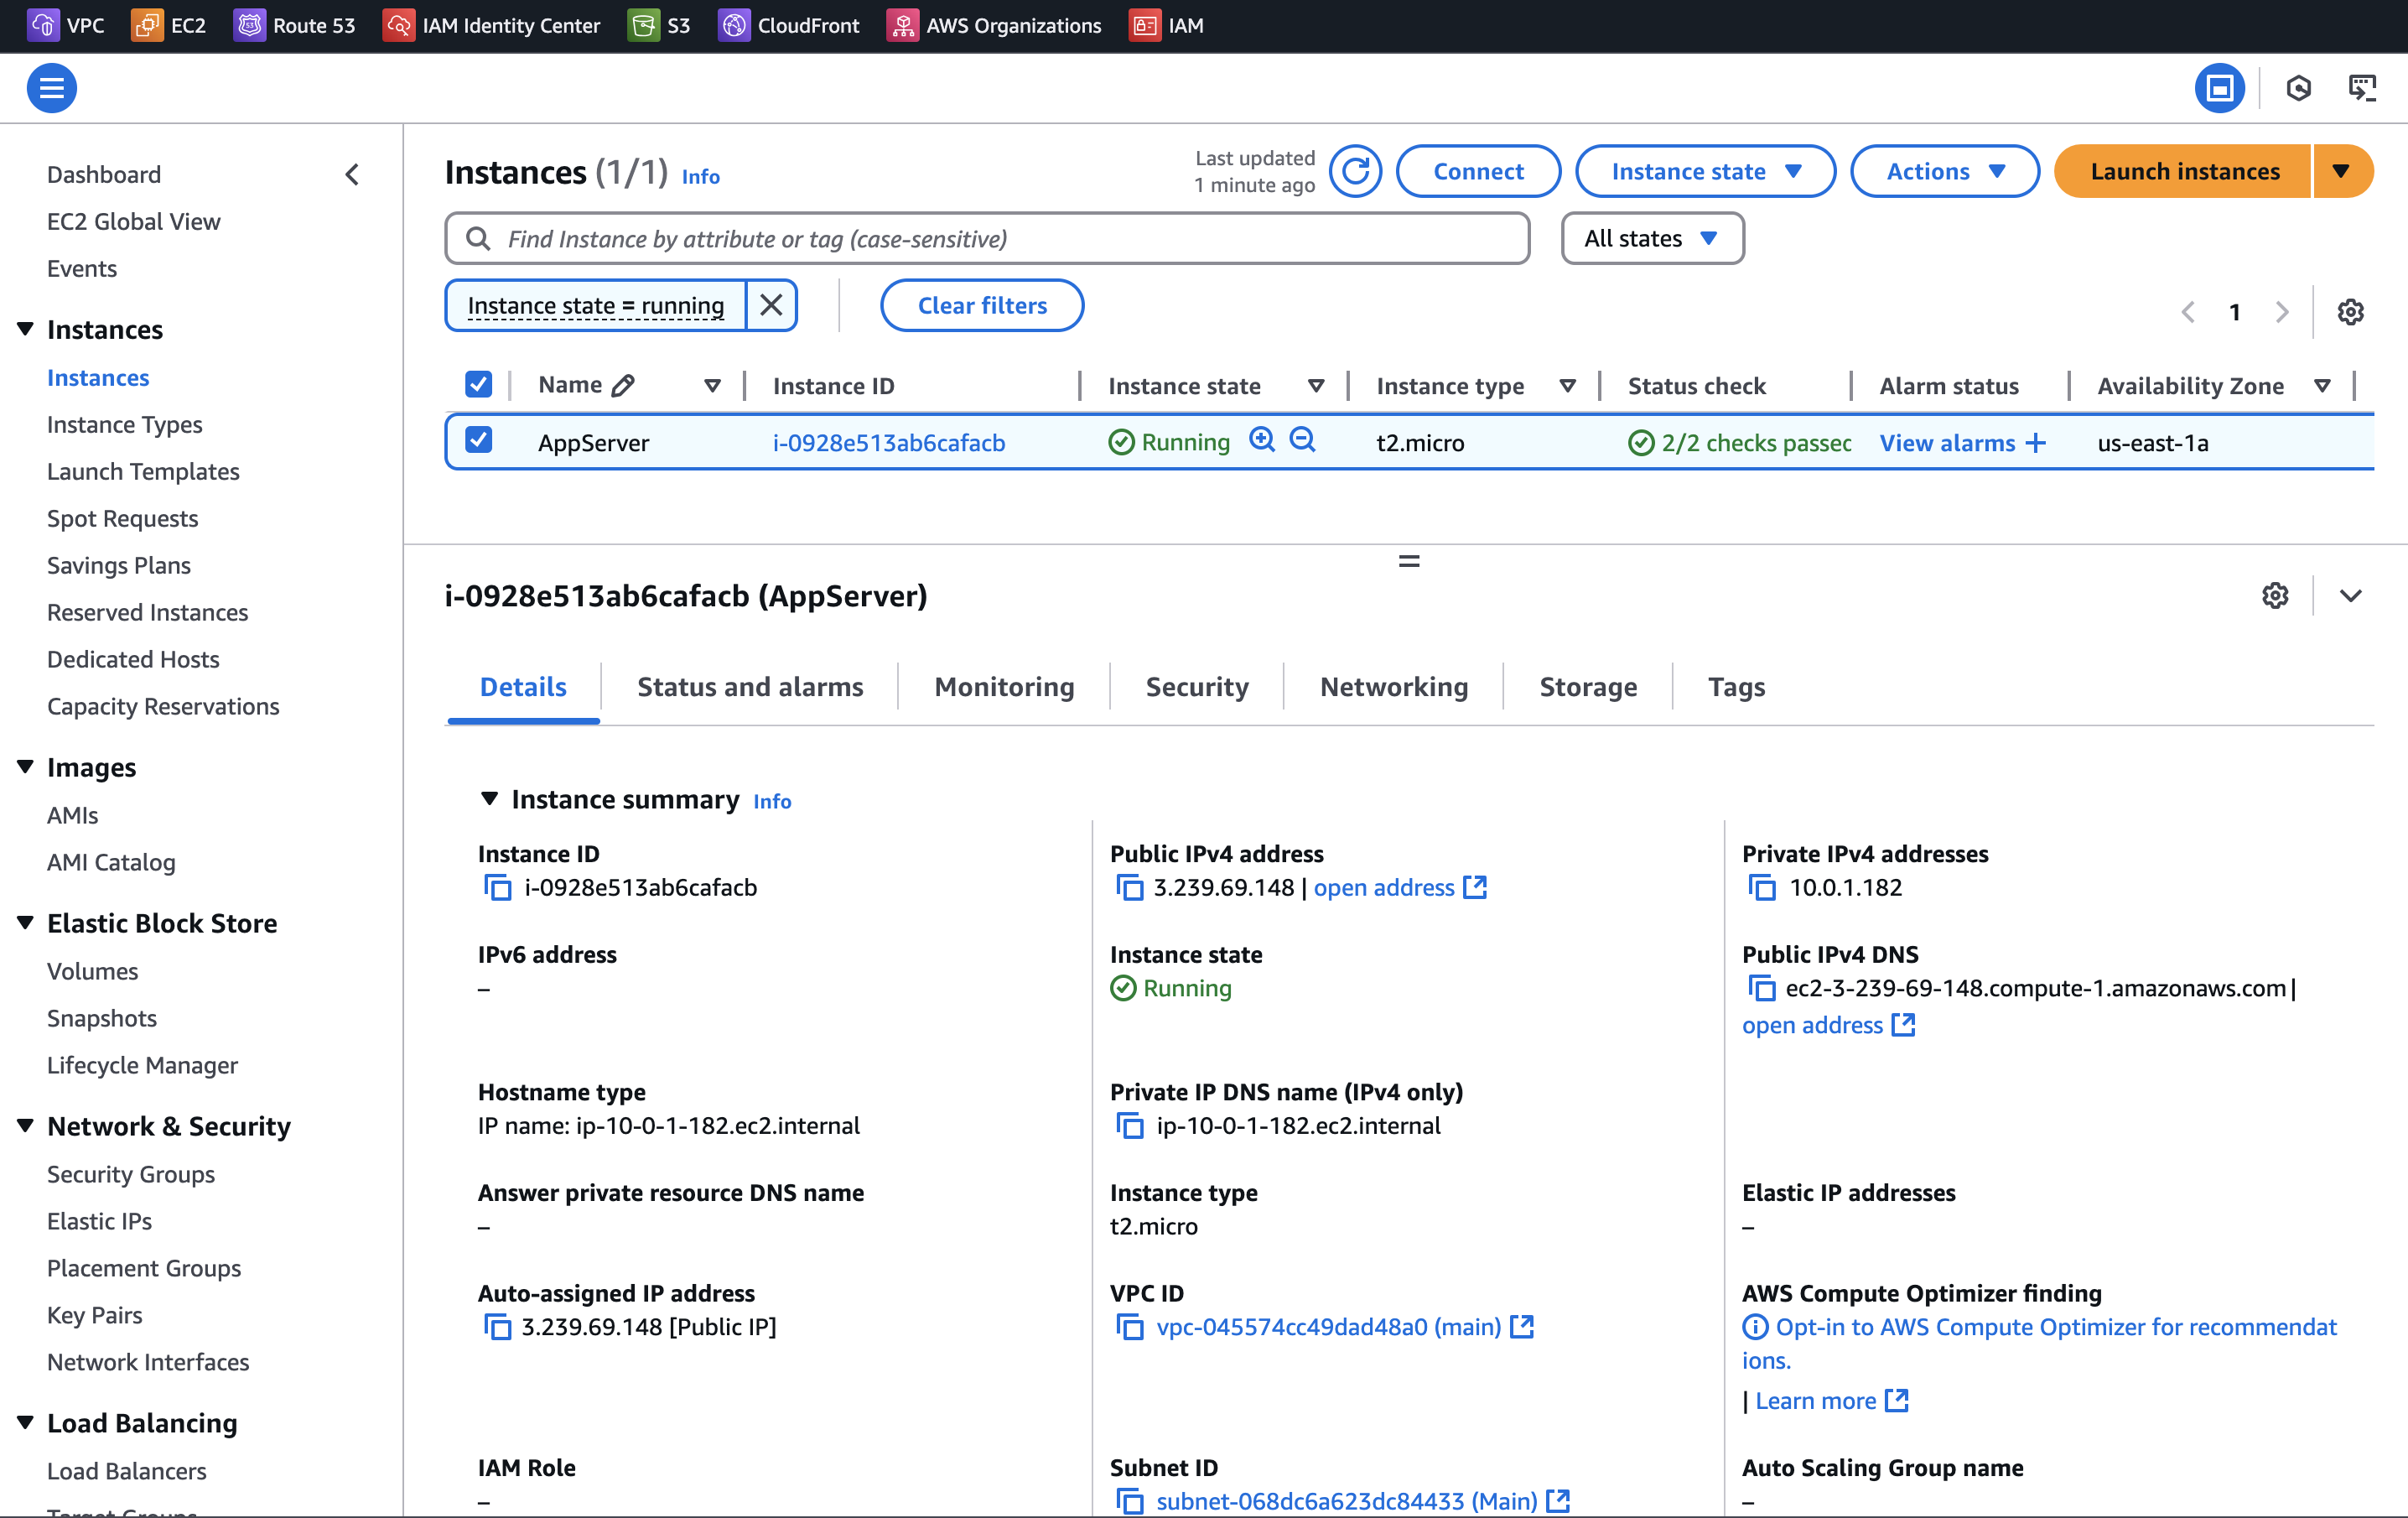
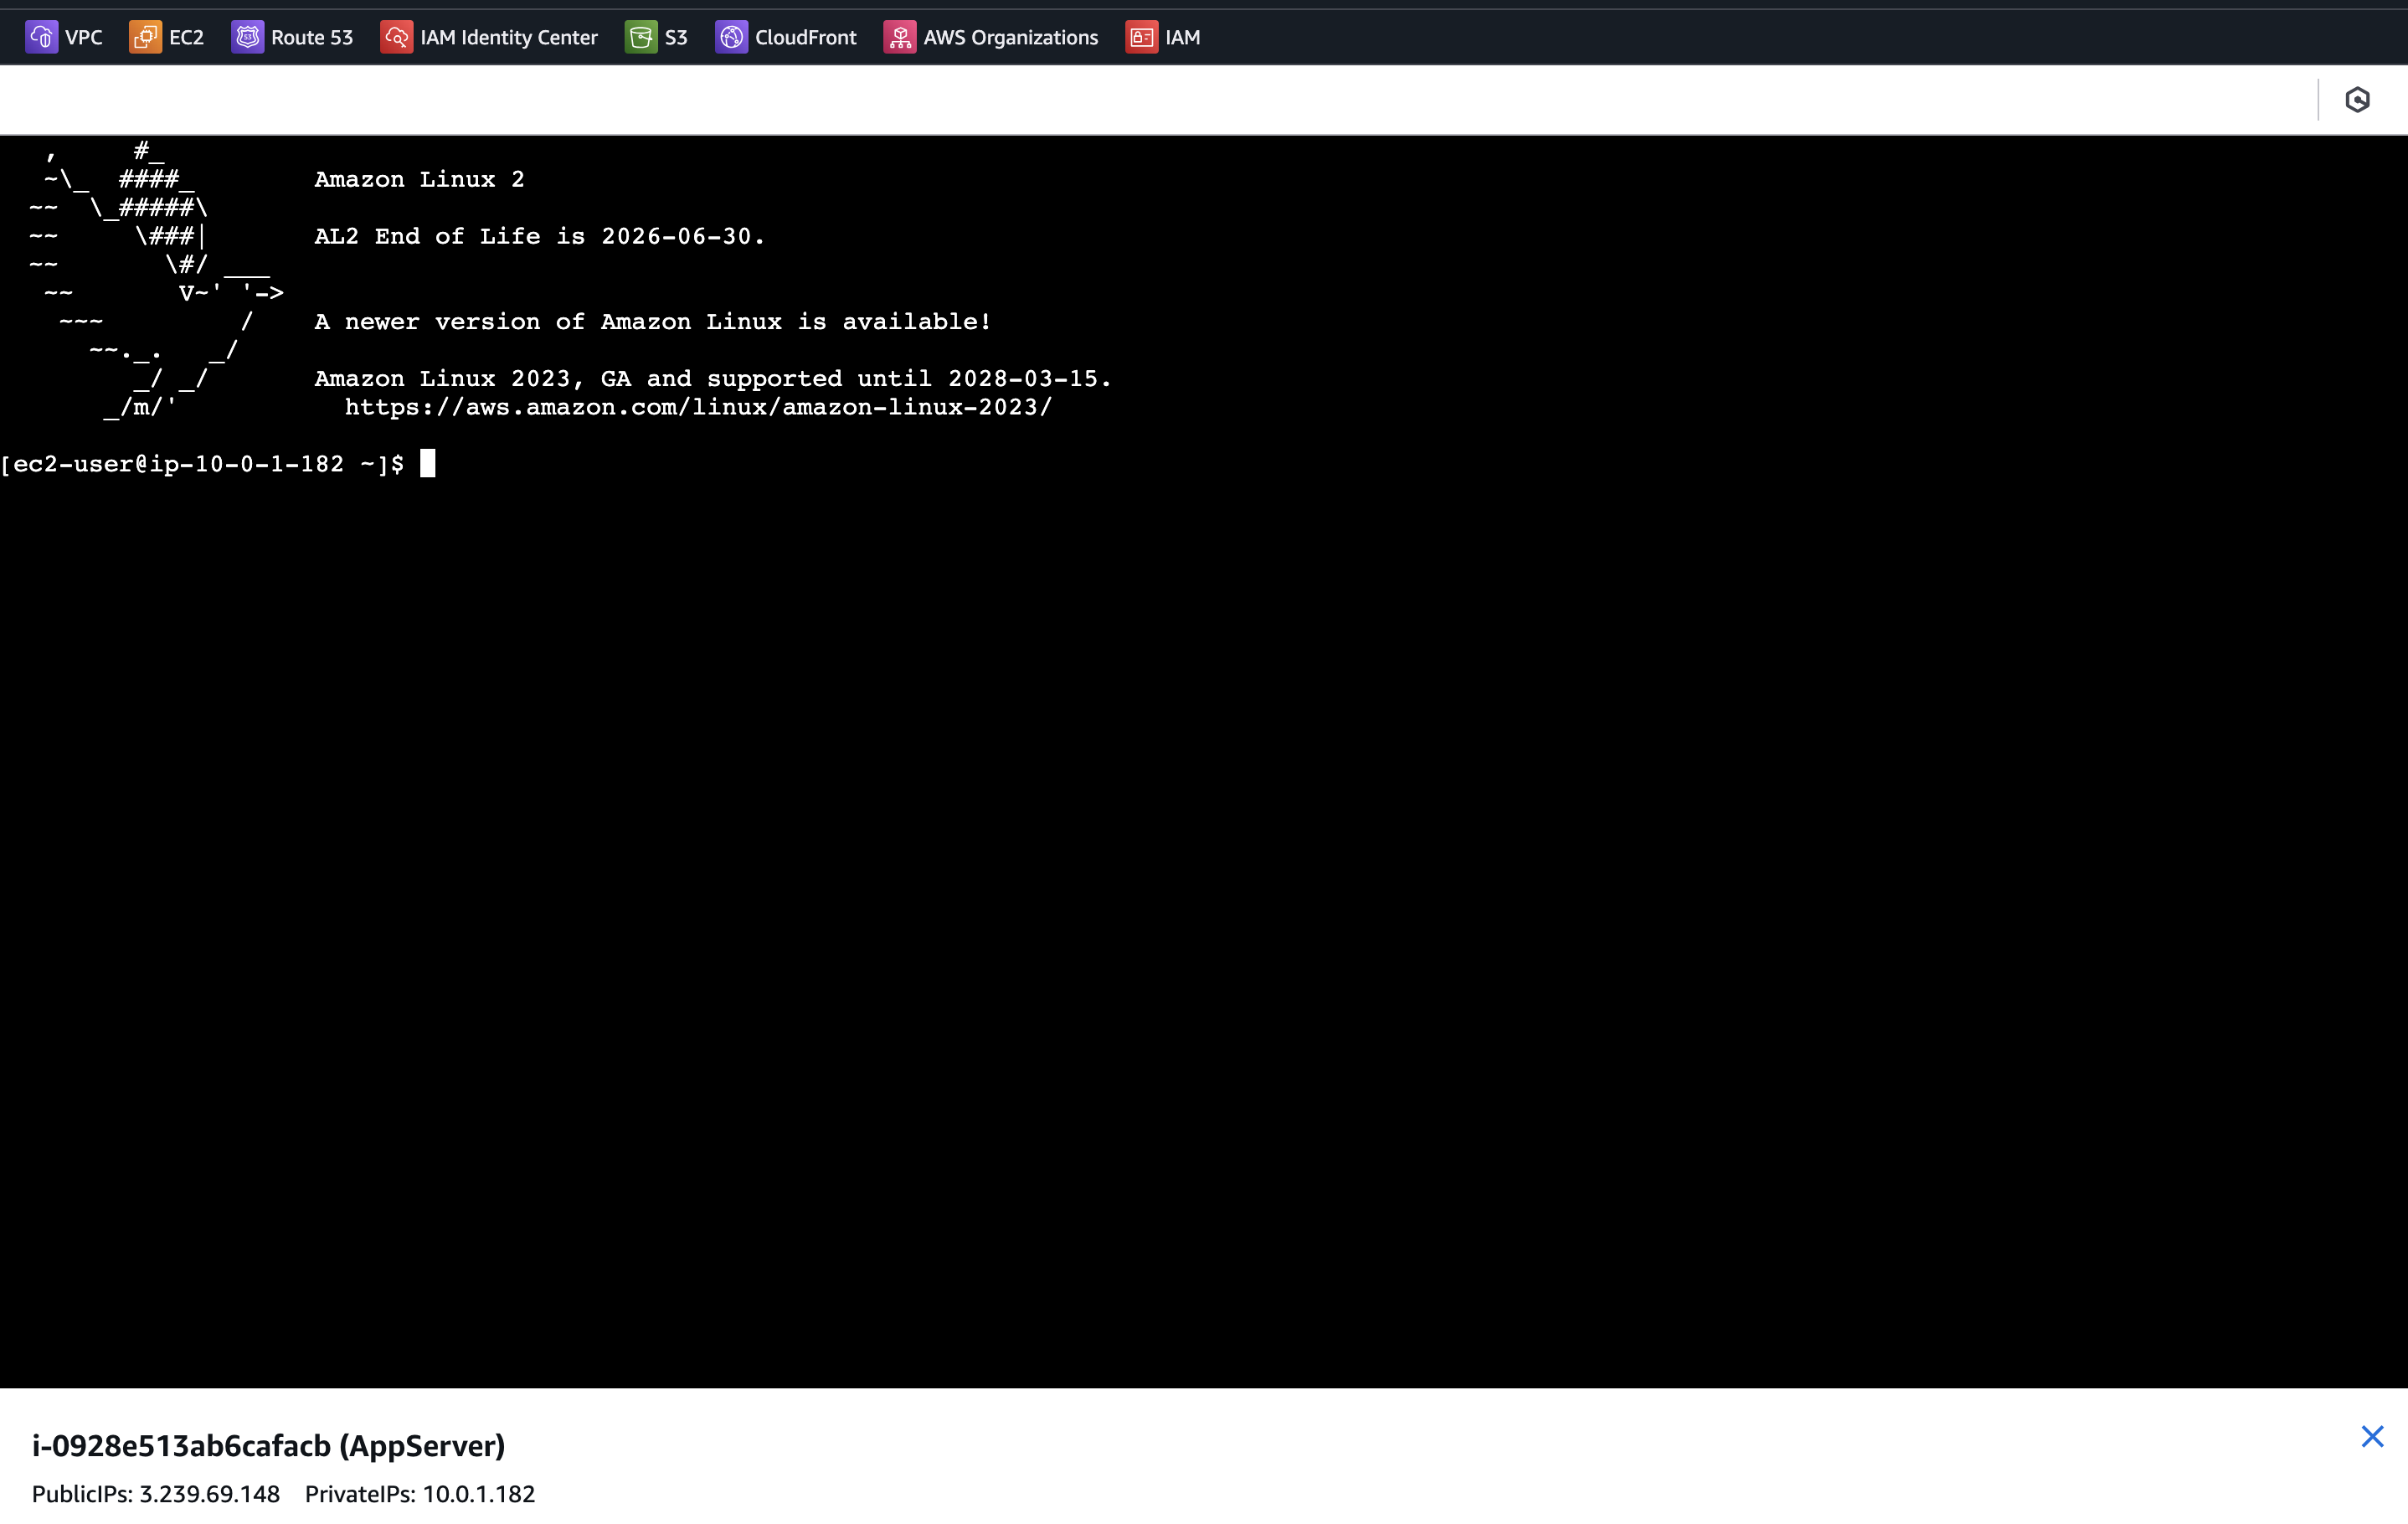
The instance is accessible:
We have verified that the scripts and automation work; it could easily be run from a CI as well.
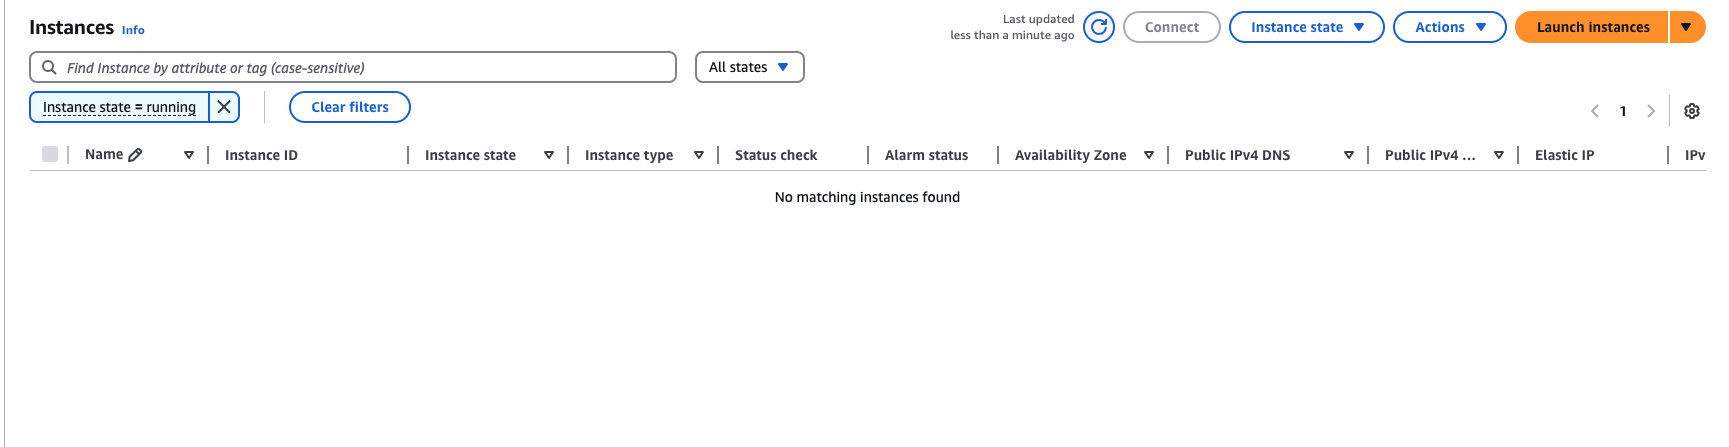
Now, let’s destroy the resources and clean up the environment:
devbox tfteardown
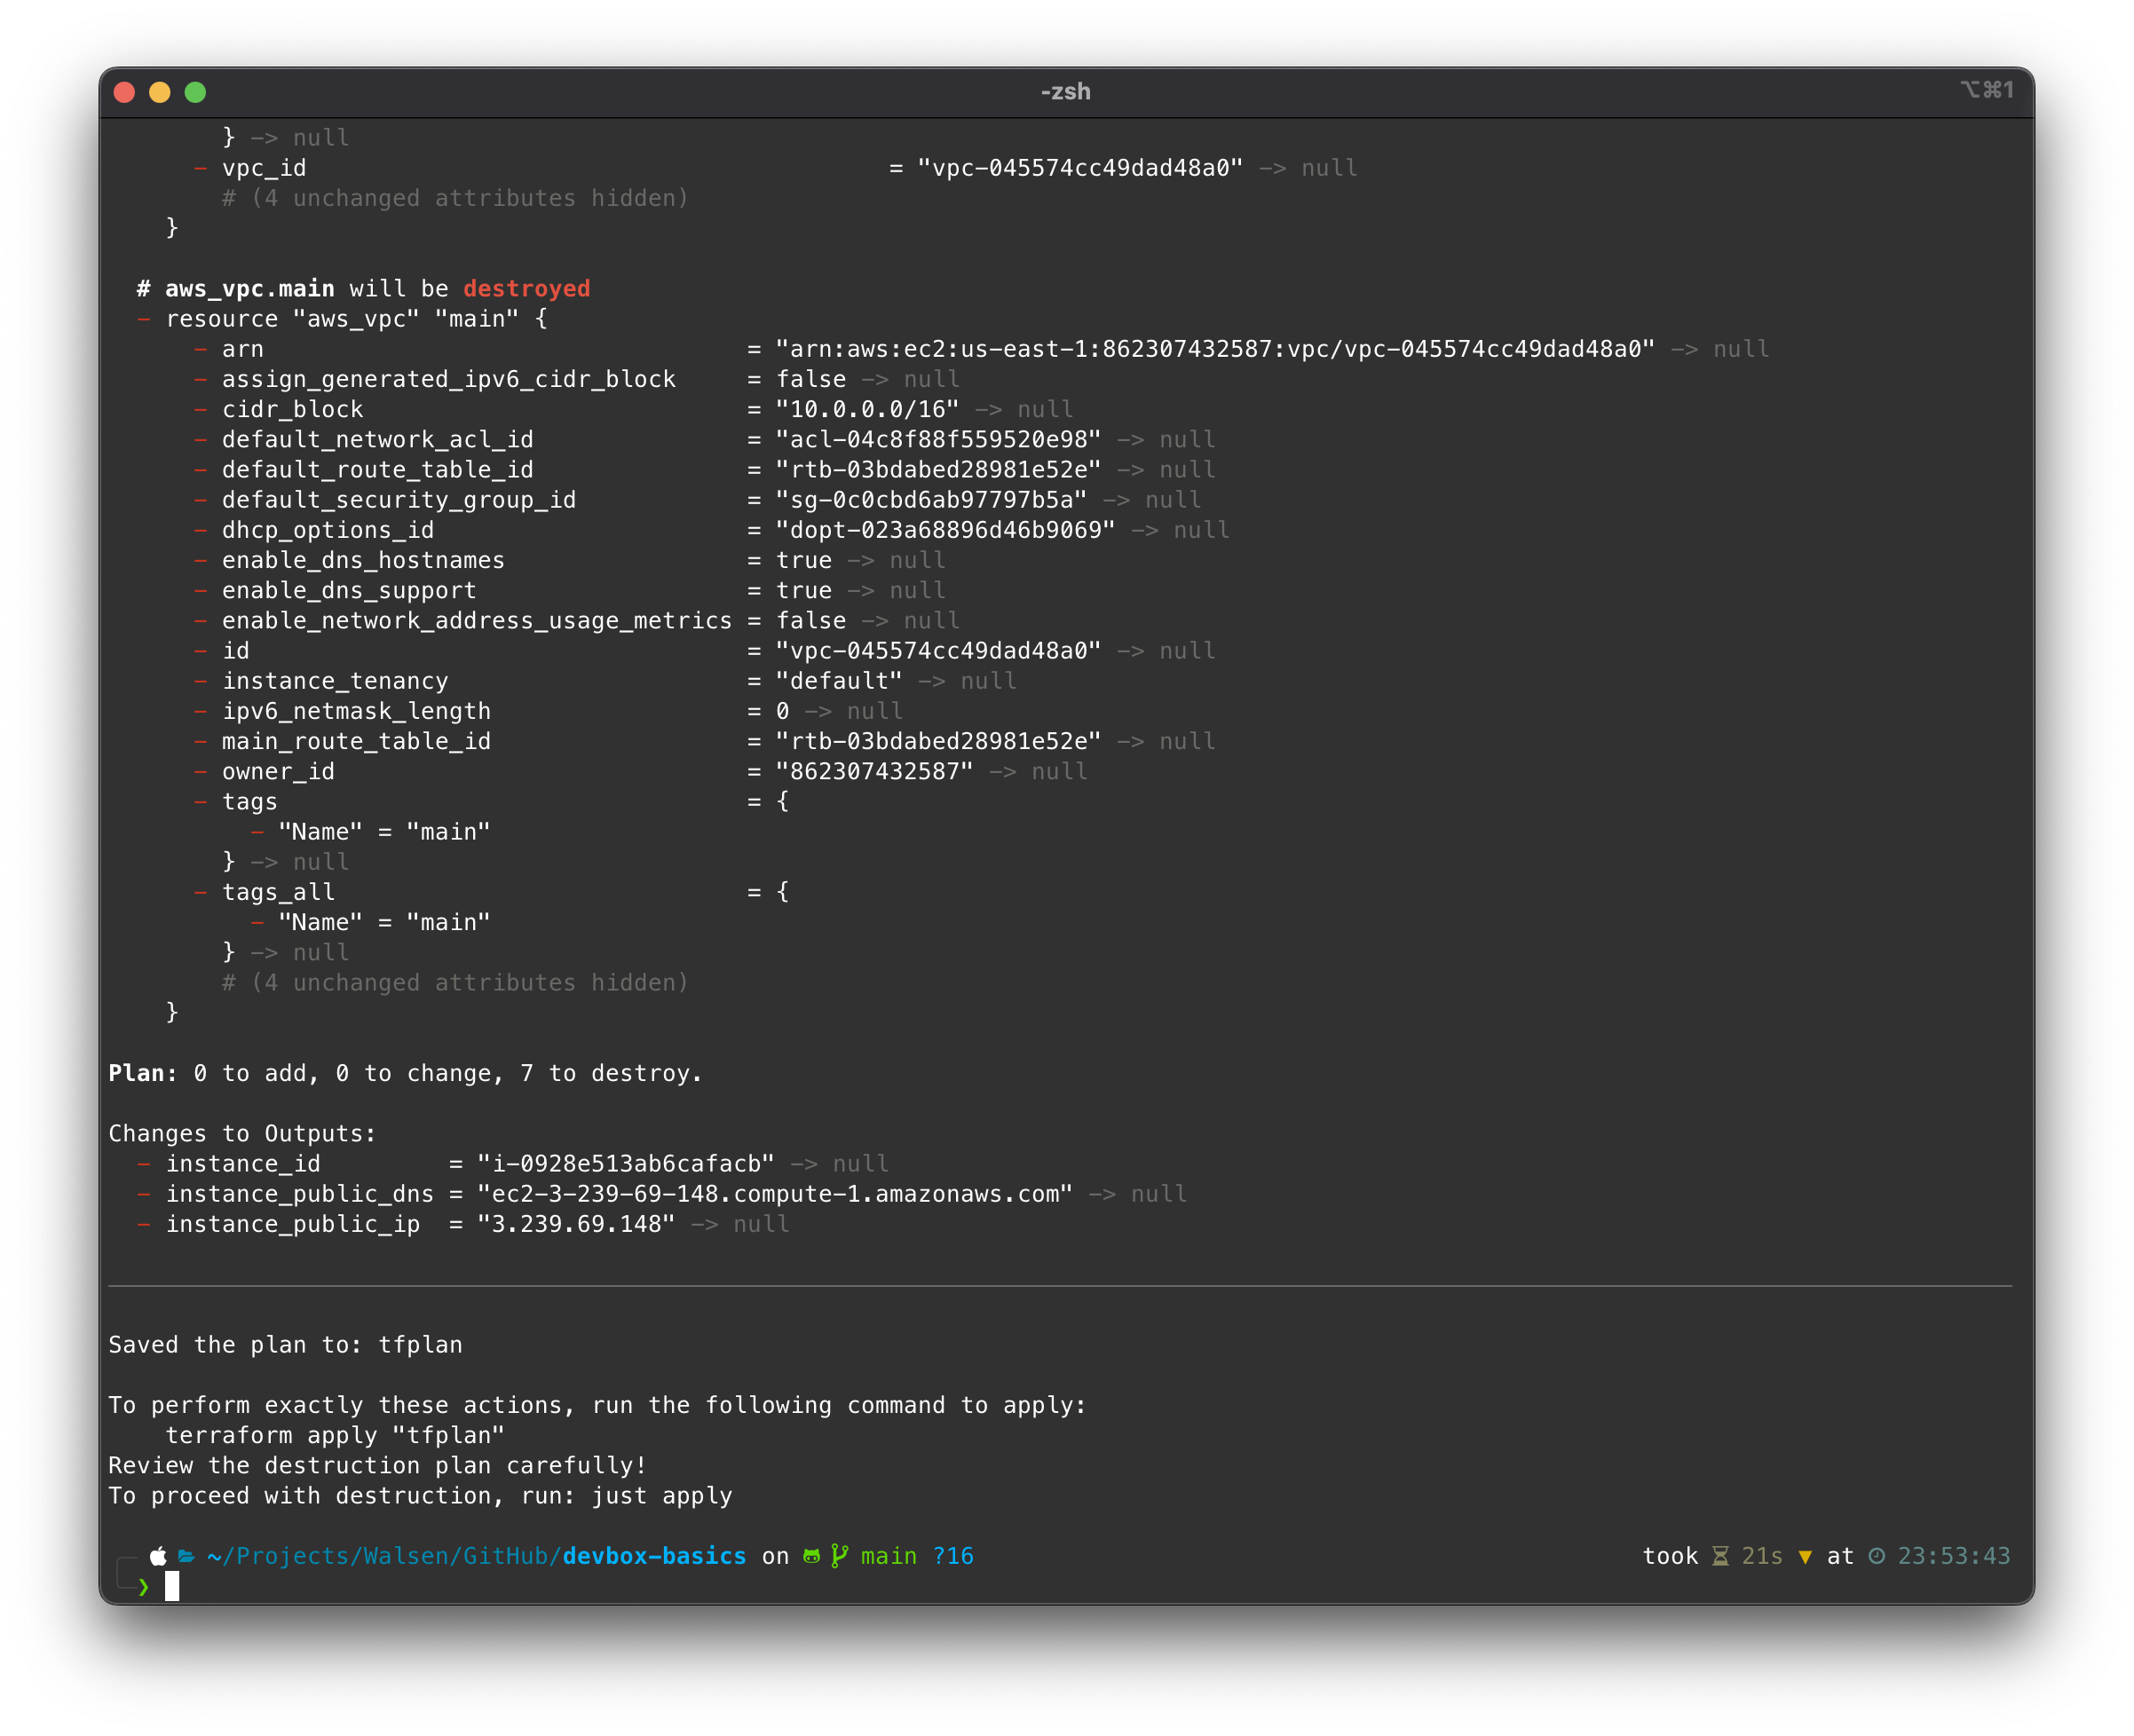
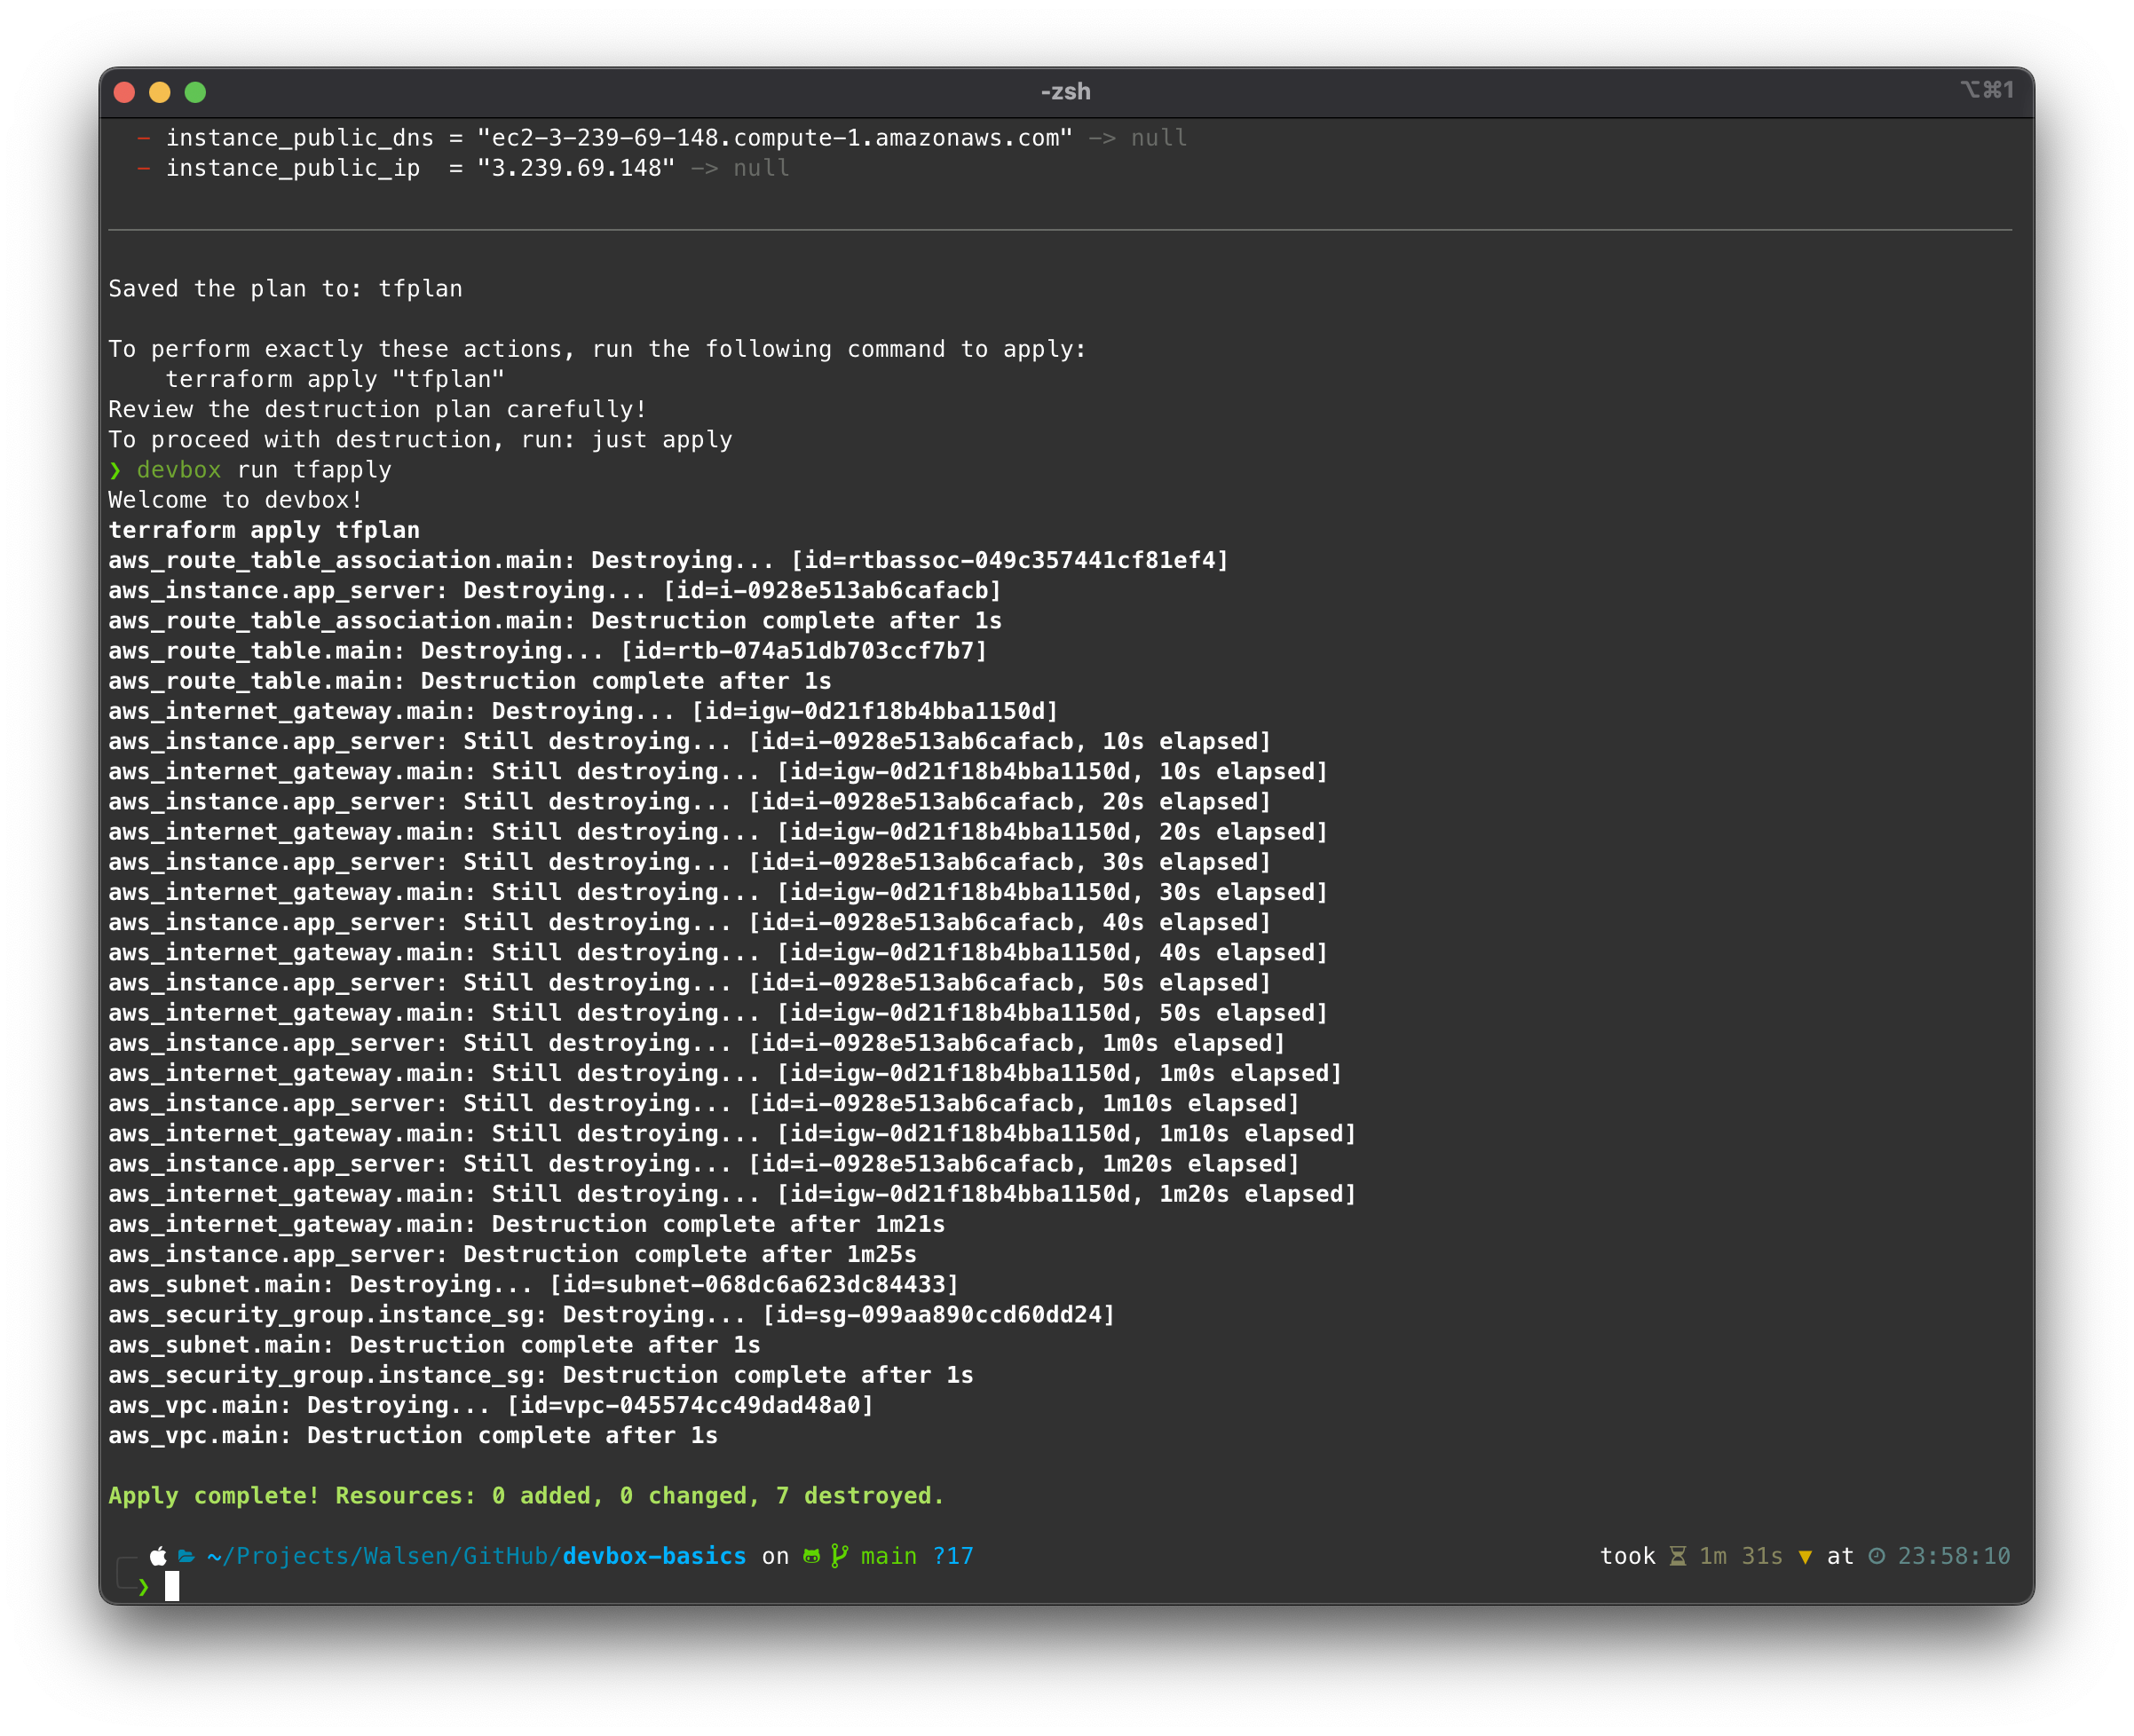
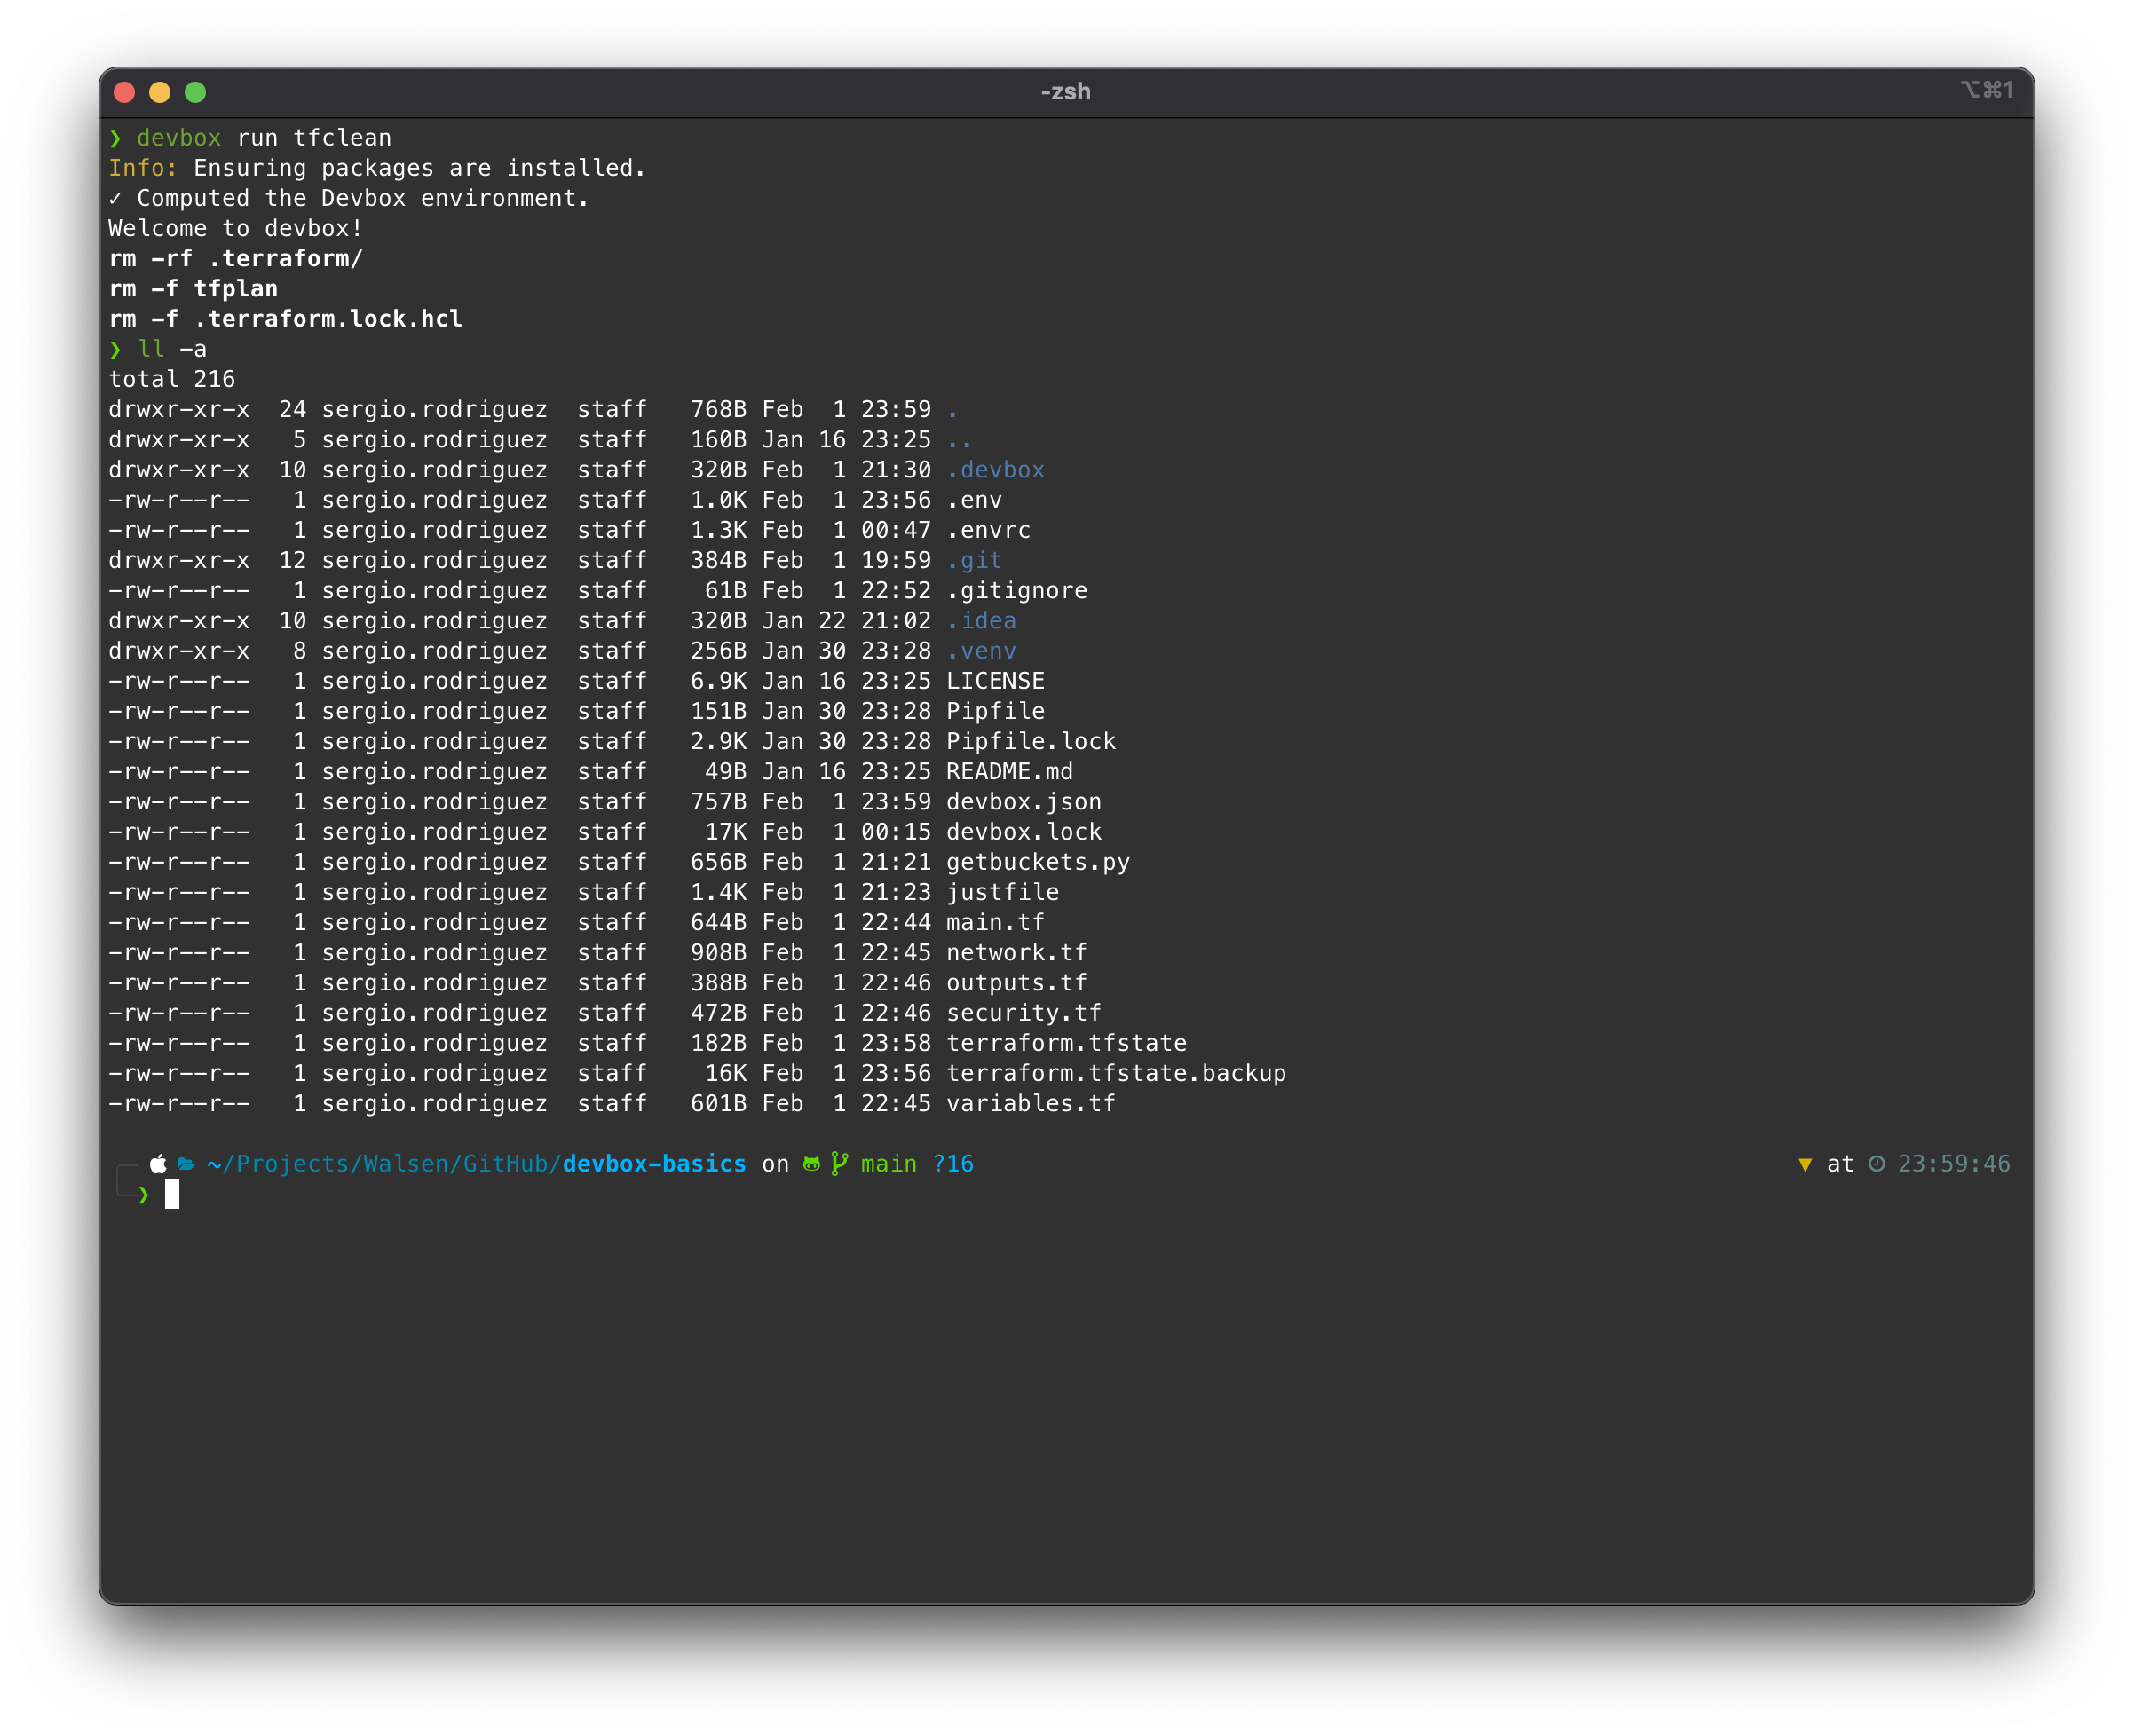
Checking the console:
Conclusions
Dependencies can become a nightmare, especially for those working with different technologies at the same time. Devbox allows us to have a clean host, with only the applications that the user truly needs installed permanently.
It also enables us to share an environment among an entire team, promotes best practices, and can be extended and automated programmatically.
In my opinion, learning to use these tools should be a fundamental chapter in the education of every computer scientist.